A bathroom is the single highest-stakes room in a remodel. A kitchen with a bad decision looks ugly for a few years until the next remodel fixes it. A bathroom with a bad decision leaks. Water finds its way through bad grout, through a cracked pan liner, through a waterproofing detail somebody skipped, and it keeps finding its way until the framing behind the wall is rotting and the ceiling below is staining. By the time a homeowner notices, the repair usually costs more than the original remodel did.
This is the complete guide we give to every Oakland homeowner who sits down with us to talk about a bathroom. Real 2026 pricing, the one question that determines whether a shower lasts 30 years or 3, what we actually do (and what we don't), our tile philosophy for older Oakland homes, and a realistic timeline from contract signing to your first hot shower.
The Real Cost of an Oakland Bathroom Remodel (3 Tiers)
Bathroom remodels in Oakland fall into three clear tiers, depending on whether you're keeping the tile and plumbing or ripping it all out. Here's what a typical 40–80 square foot bathroom runs at each level in 2026.
Oakland Bathroom Remodel — 2026 Cost Tiers
| Tier | What's Included | Typical Range |
|---|---|---|
| Light Refresh | New vanity, new toilet, new fixtures, paint, maybe new lighting. Keeps existing tile, shower pan, and flooring. No plumbing touched behind the walls. | $8,000–15,000 |
| Mid-Range | New shower tile, new shower pan, new vanity, new flooring, new fixtures. Same footprint, same drain locations. One wall might get opened for plumbing updates. | $15,000–25,000 |
| Full Gut | Everything above + demo to studs, new waterproofing system from scratch, new plumbing where old galvanized or cast iron is failing, permits pulled, inspected. | $25,000–35,000 |
For the deep-dive on cost specifically — how materials, tile choices, and labor break down line by line — see our separate post on what a bathroom remodel actually costs in Oakland. And for the step-by-step construction sequence inside the shower itself, we wrote a whole post on how a shower remodel actually works, behind the tile — that's the technical walkthrough of every phase from demo to finished tile.
What We Do (and Don't Do)
This is the most important section of this post, and almost nobody writes it: we do full showers and full bathrooms at the existing footprint. Everything inside the bathroom gets replaced — the tile, the shower pan, the waterproofing, the vanity, the toilet, the flooring, the lighting, the fixtures. But the bathroom stays the same size, the same shape, and in the same place in the house.
What we don't do:
- Move the shower to an opposite wall. Relocating a shower drain means cutting new pathways through joists, running new vent stacks, re-routing supply lines through walls we'd otherwise leave closed. That's a layout-change project, not a bathroom remodel.
- Reconfigure the bathroom's footprint by cutting into adjacent rooms. Taking square footage from a bedroom or closet to expand the bathroom is a whole-house renovation that touches structural walls, electrical, and sometimes load-bearing framing. Different scope, different contractor conversation.
- Swap the toilet location as the main purpose of the job. If the primary reason you want a remodel is to move the toilet two feet — we're not the right fit for that job by itself.
If your bathroom needs to stay the same size and same general layout but get everything replaced, you're in our sweet spot. That's the work we do best, the work that delivers the highest quality-to-cost ratio, and the work where we catch and fix the hidden surprises in old Oakland plumbing without expanding scope. For layout-change projects, you want a general contractor running a whole-house renovation where the bathroom is one of several rooms being touched simultaneously — it's a different conversation with a different contractor skillset.
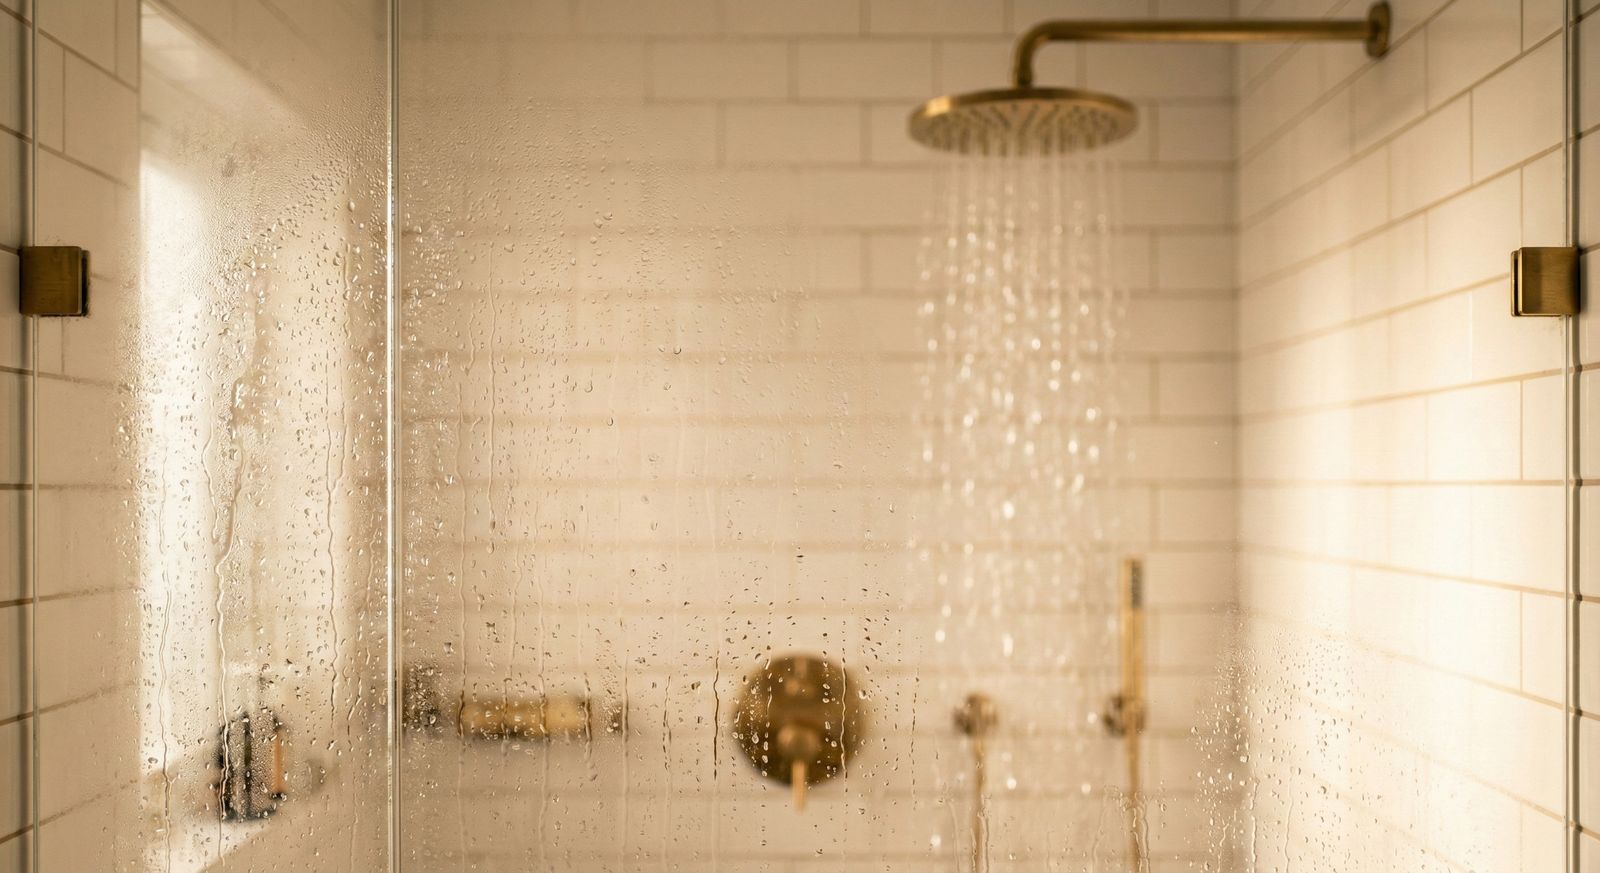
Waterproofing — The One Thing That Separates a 30-Year Shower From a 3-Year One
There's no single thing. A bathroom that lasts 30 years needs all of these done right, every single time. When any one of them fails, you get the same result — water finding its way through tile, grout, and backer board into the framing behind the walls. By the time a homeowner notices, the damage is structural. Here's what we check and re-check on every shower install:
- The pre-slope under the pan liner. The shower floor needs a pitched slope UNDER the waterproof pan liner, not just on top of it. When the pre-slope is done wrong, water gets stuck in pools against the pan liner instead of draining. You end up with standing water trapped inside the shower assembly, mold growing where nobody can see it, a persistent odor that never goes away, and eventually the whole shower fails from the inside out. The homeowner never sees any of it until the ceiling below the bathroom starts staining.
- The corner folds and curb wrap. Where the pan liner meets the wall at 90-degree corners is where most shower leaks happen. The liner has to be folded and bonded without cuts, wrapped up and over the curb, and tied into the wall waterproofing without any staples or nails penetrating the waterproof layer. One staple in the wrong place, and you've put a permanent hole in your shower.
- One waterproofing system, every job. We use a traditional plastic pan liner (CPE) on every shower we build. Pre-slope mortar UNDER the liner. Finish slope mud bed ON TOP of the liner. Cement board walls above the liner turn-ups. Bituthene flashing at niche openings and penetrations. No brand-mixing, no shortcuts, no swapping systems between jobs — one system we've proven out over years of Oakland shower builds.
- Slope to drain on the finish tile surface. Pre-slope under the liner is step one. The mud bed on top of the liner needs a matching slope. The tile goes down pitched to the drain at a minimum of ¼ inch per foot. If the slope disappears at the surface, water sits on the tile around the drain instead of flowing in — you can see it after every shower, standing water pooling at the low spots, and the client notices and calls you back.
Our actual waterproofing system — the exact sequence, the layers, the cost at each phase — is in how a shower remodel actually works, behind the tile. That post covers the CPE pan liner install, pressure-balance valves, blocking, bituthene-flashed niches, and the 8-layer waterproofing sequence we run on every shower. If you're researching bathroom remodels seriously, read it.
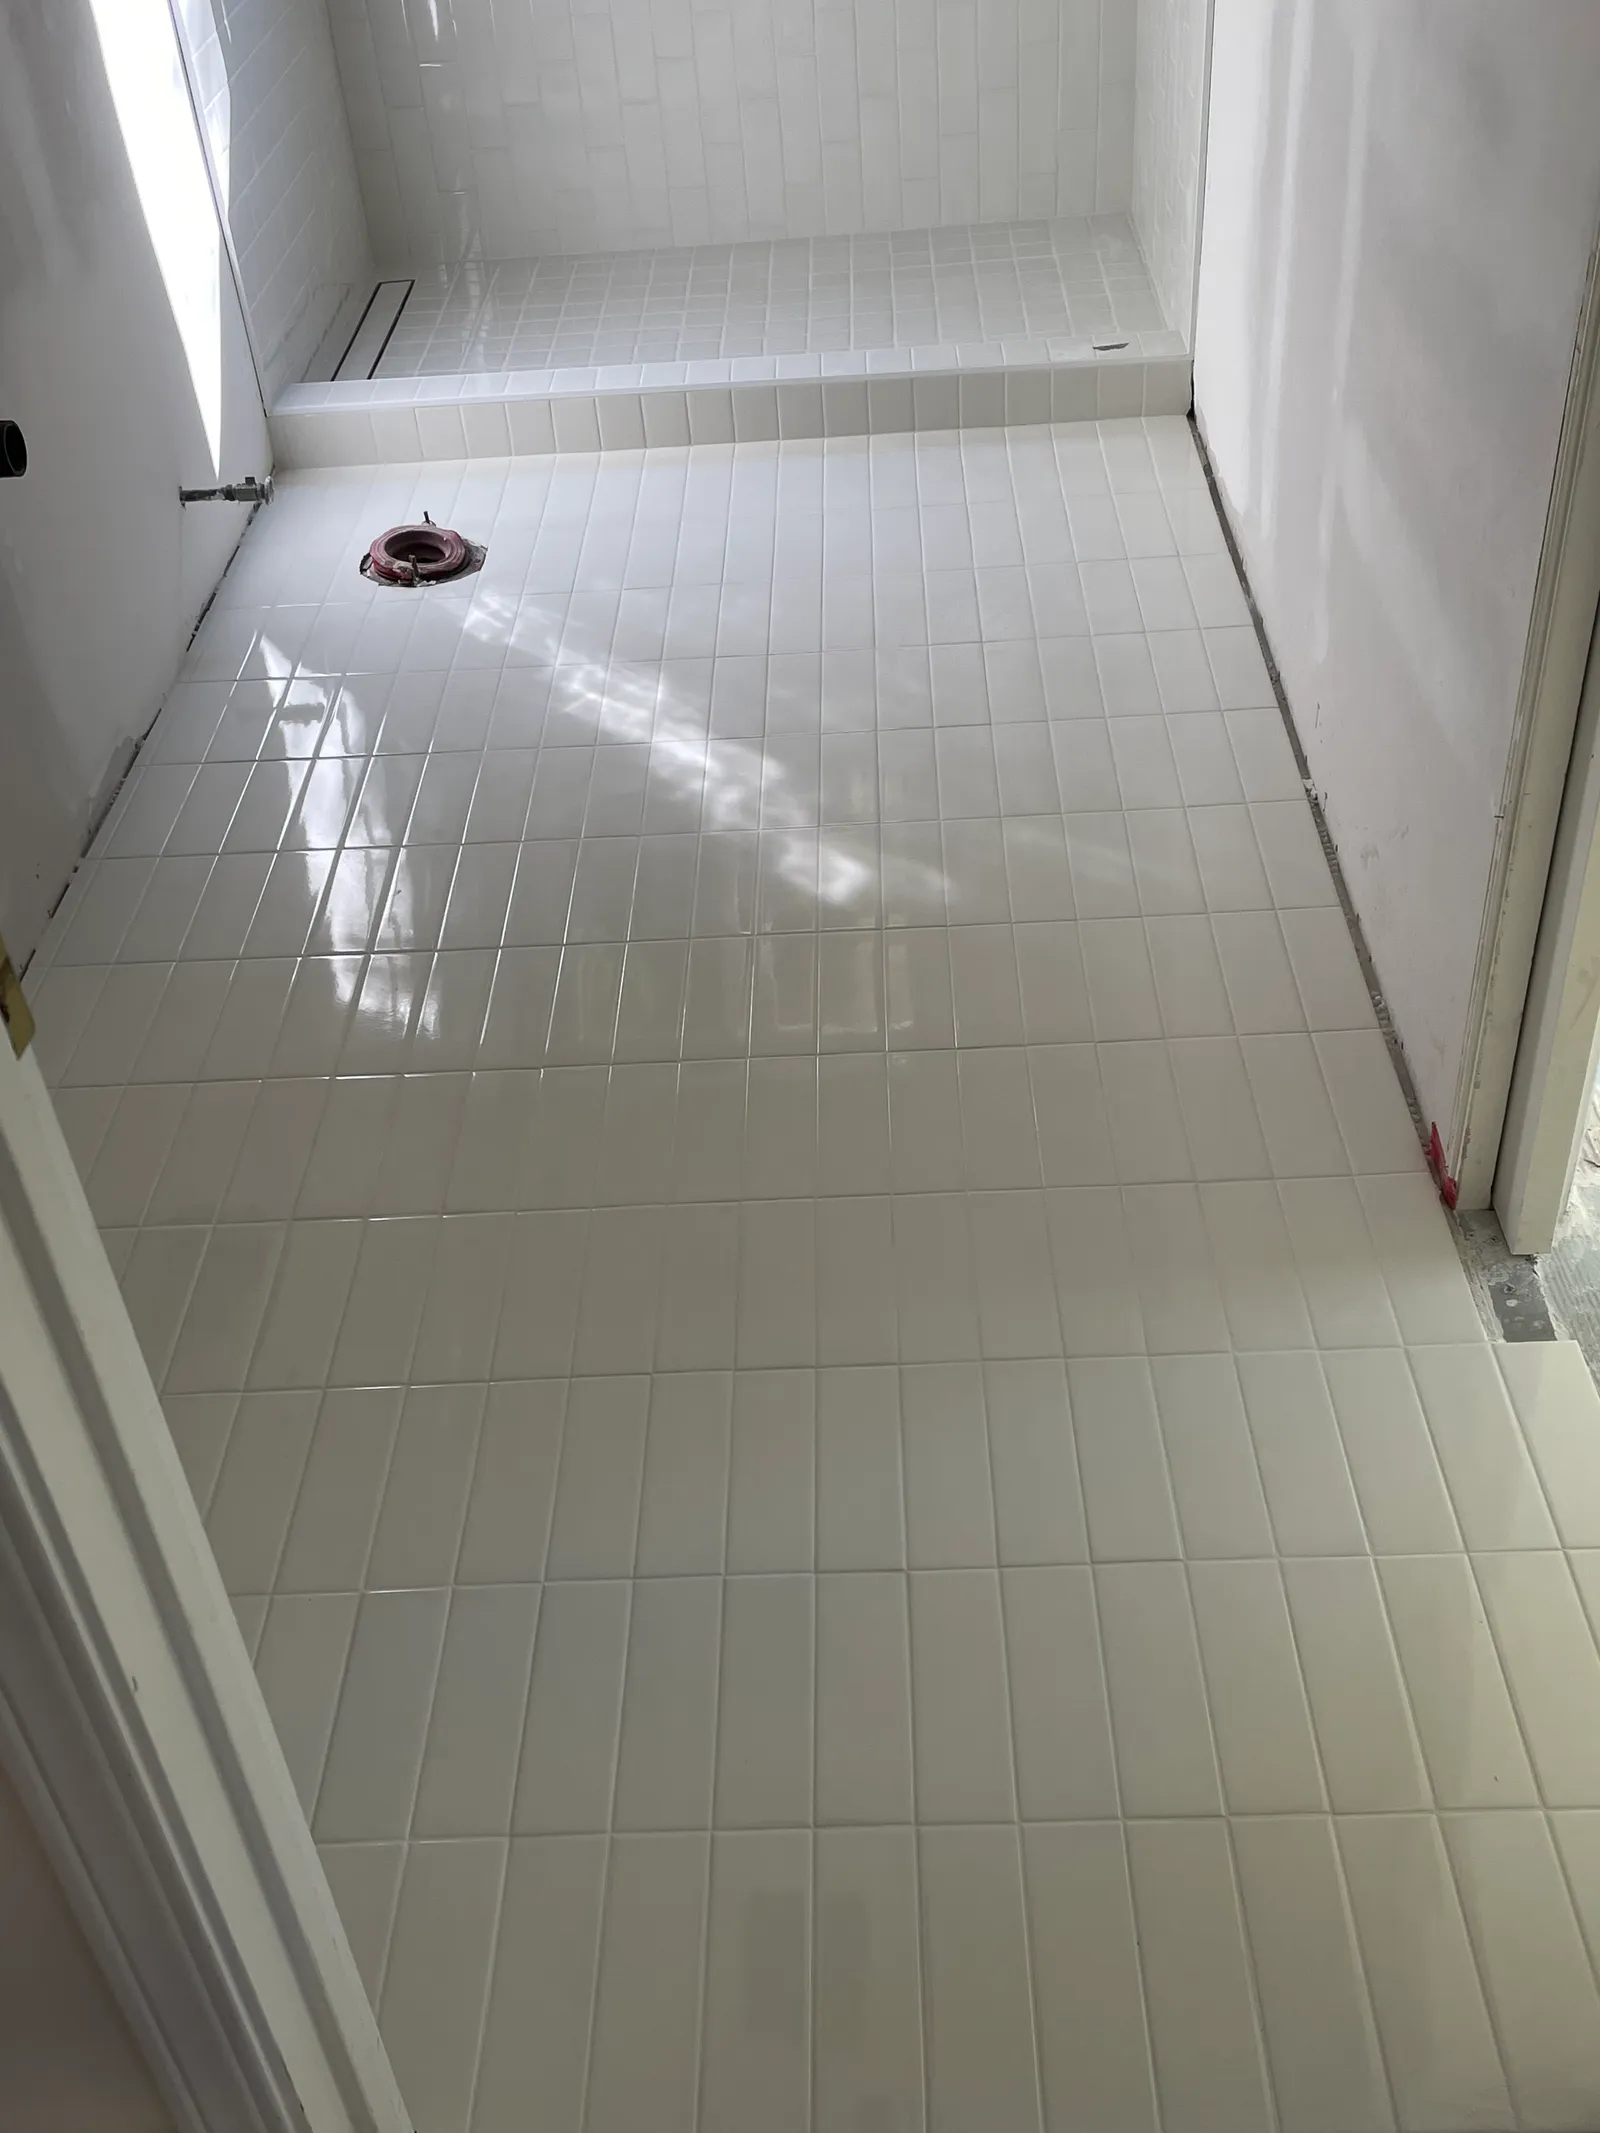
What We Find Behind Old Oakland Bathroom Walls
Oakland bathrooms predating 1960 almost always have one of two plumbing problems, and we find them on demo day once the tile is off and the walls are open.
- Galvanized steel supply lines, rusted from the inside. Original 1920s–1950s galvanized plumbing where the inner diameter is half what it used to be after 60+ years of corrosion. Water pressure at the shower is weak because the pipes are collapsing from the inside. When we open the walls and see it, we recommend swapping to copper or PEX while everything is accessible. Typical add: $1,500–$3,500 depending on how many fixtures.
- Old cast iron drain stacks. Cast iron was the standard for drain lines in Oakland from the 1900s through the 1970s. It lasts a long time, but after 70+ years it starts developing internal corrosion, pinholes, and the horizontal sections sag and crack. When we can see visible corrosion or hear water gurgle unusually during a flush, we flag it as a future replacement. If it's actively leaking or badly corroded, we replace the bathroom section while the wall is open — typical cost: $1,500–$4,000 for a bathroom-scale run.
On one recent full bathroom remodel we did, the client's original plan was a straightforward mid-range refresh — new tile, new vanity, keep the plumbing. We opened the wall behind the old vanity and found the galvanized supply lines so corroded that the hot-water line had narrowed to pencil-lead diameter. Replacing it was the only responsible move. Cost went up about $2,800. The client was disappointed about the budget change but grateful we caught it before the old pipes failed completely — which would have flooded the bathroom a year or two after the remodel and destroyed the new tile we were about to install.
This is why we budget a 10–15% contingency on every full gut bathroom remodel in a pre-1970 Oakland home. You almost always use some of it. The good news: finding it during demo, when walls are already open and the tile is already off, is always cheaper than finding it after the remodel is finished.
Tile Selection — Timeless Beats Trendy
The single biggest visual decision in a bathroom is the tile, and it's also the decision homeowners get most wrong when they pick it alone from a Pinterest board. Here's what we actually recommend for Oakland bathrooms — where most of the homes are pre-1970 craftsman, Victorian, or mid-century, and the aesthetic needs to fit the house's bones.
- Shower wall tile: classic subway tile, 3×6, in ceramic or porcelain. This is our default recommendation for almost every Oakland home. Subway tile has been in American bathrooms since the 1910s and it looks right in a Rockridge craftsman, a Temescal Victorian, a Maxwell Park bungalow, and a Montclair mid-century ranch without needing to change a single other thing in the house. It's also the cheapest reliable wall tile on the market — $4–8 per square foot installed — and it ages gracefully. In 20 years it will still look like it belongs. Large-format contemporary tile trends come and go; subway tile is permanent.
- Bathroom floor tile: porcelain, large format (12×24 or larger). Porcelain is harder than ceramic, less porous, doesn't stain, and handles bathroom moisture without sealing. Large format means fewer grout lines, which means easier cleaning and a calmer visual. We install 12×24 or 18×36 porcelain on almost every bathroom floor we do. Avoid small-format floor tile (anything smaller than 12×12) — the grout maintenance is a nightmare in a room that sees daily water.
The tile choice we actively talk clients OUT of, every time:
For a deeper look at vanity countertop materials — quartz, granite, marble, quartzite — see our complete guide to countertops in Oakland. For the full material lineup we're using across all our 2026 bathroom and kitchen projects, see what we're installing in 2026: flooring and countertops that actually last.
Realistic Timeline (Light 1–2 Weeks / Mid 3–5 / Full Gut 5–8)
Bathrooms are smaller than kitchens, so the timeline is naturally shorter. But waterproofing curing times and thinset cure windows set hard floors on how fast the schedule can go — you can't skip them, you can't rush them.
Oakland Bathroom Remodel Timeline — Contract to Final Walkthrough
| Tier | Typical Timeline |
|---|---|
| Light Refresh (fixtures + vanity, no shower rebuild) | 1–2 weeks |
| Mid-Range (new shower tile + new pan + new vanity + new floor) | 3–5 weeks |
| Full Gut (demo to studs + new plumbing + full waterproof + tile + permits) | 5–8 weeks |
The biggest single wait in any bathroom remodel is waterproofing and mortar cure times. The pre-slope mortar needs 24–48 hours to cure before the pan liner goes in. Thinset under the tile needs to cure 24 hours before grout. Grout needs to cure 48–72 hours before the shower can be used. You can't compress those windows by throwing more crew at the job — they're chemistry, not labor. Adding people just means standing around waiting.
Permits — We Pull Them on Every Bathroom, Every Time
Some contractors skip permits on bathroom remodels to save clients money and shave days off the timeline. We don't. Every bathroom remodel we do gets a permit pulled with the Oakland Building Department, regardless of size.
Three reasons:
- Homeowner's insurance. If a bathroom fails after the remodel and the work was unpermitted, most homeowner's insurance policies will deny the claim. The $400–$800 permit fee on day one protects the tens of thousands the client spent on the remodel.
- Future sale of the house. Unpermitted work shows up in disclosure statements and creates friction during inspection on a future sale. Permitted work is clean.
- Catching our own mistakes. The city inspector looks at our rough-in plumbing and waterproofing and signs off before we close the walls. It's a free second set of expert eyes on our work. Good contractors welcome inspections; nervous contractors avoid them.
The permit adds 1–2 weeks to the schedule in the worst case (waiting for issue + scheduling the rough-in inspection + waiting for the final inspection after completion). That's already baked into the 5–8 week full-gut timeline above.
How to Choose a Licensed Bathroom Remodeling Contractor in Oakland
Bathroom remodels are where contractor shortcuts cause the most real damage, because water keeps finding those shortcuts for decades after the job ends. Here's what to ask before signing a contract:
- Confirm the CSLB license is active. California contractors performing work over $500 must be licensed. Look up any contractor at cslb.ca.gov. Soto Bay Construction holds CSLB License #1054501, formally licensed since 2019, family-owned and serving the Bay Area since 2013.
- Ask how they slope a shower pan. If the answer doesn't mention the pre-slope UNDER the pan liner as a separate step from the finish slope on top, they don't understand waterproofing. Keep looking.
- Ask what waterproofing system they use. A real contractor will name one specific system and explain why they use it on every job. "We use whatever the job calls for" or "we just use whatever's at Home Depot" are both red flags — the best shower builds come from contractors who've picked one system, learned every failure mode, and stick with it. For the record: we use a traditional plastic pan liner (CPE) on every shower.
- Ask if they pull permits. The contractor who says "nah, we can skip the permit on this one, save you a few hundred bucks" is saving you money now in exchange for a future insurance claim denial or a failed home sale.
- Ask to see finished bathroom work at least 2 years old. Fresh tile looks good when it's new. Real craftsmanship shows after 2 years of daily use — is the grout still clean? Are the corners still sealed? Is the pan still draining properly?
Planning a bathroom remodel in Oakland?
Licensed since 2019. Family-owned and serving the Bay Area since 2013. Real bathrooms, real Oakland homes, real pricing.
Get a Free Estimate