This post is part of our complete guide to bathroom remodeling in Oakland. Start there for the full picture on cost, scope, tile, and timeline. This post is the technical deep-dive on the shower-build sequence and every waterproofing layer.
Most homeowners see the finished tile and glass door. They don't see the eight layers of work that determine whether that shower lasts 3 years or 30. We've rebuilt too many showers that failed because someone skipped steps or installed things out of order. Here's how we do it — the full sequence, with realistic costs and the reasons behind every step.
Demo and Framing: The Foundation Nobody Sees
We start by gutting everything back to studs. That means removing tile, backer board, old waterproofing, shower pan — all of it. This usually takes a full day.
Once we're at bare framing, we inspect for:
- Rot or water damage — common at the curb and lower corners where water pools
- Proper stud spacing — studs should be 16" on center for tile support
- Blocking for fixtures — existing backing often isn't where you need it for new valve placement
- Level and plumb walls — we sister in shims or replace studs if walls are out more than 1/4" over 8 feet
If we find rot, we cut it out and sister in new framing. This adds $300–800 depending on extent, but it's not optional. Installing a waterproof system over compromised framing is building a time bomb.
Plumbing Rough-In: Now or Never
With walls open, we update all the plumbing. This is your only chance to relocate fixtures, upgrade valve bodies, or add features without tearing into finished tile later.
Typical Plumbing Rough-In — $1,500
| Item | Cost |
|---|---|
| Pressure-balance valve body (Kohler or Delta) | $400 |
| Diverter valve (if adding handheld or body sprays) | $250 |
| Supply line rerouting | $300 |
| Drain relocation (if moving shower head) | $350 |
| Permit & inspection | $200 |
| Total | ~$1,500 |
We use pressure-balance or thermostatic mixing valves — required by code and critical for safety. They prevent scalding if someone flushes a toilet mid-shower. The valve body installs between studs, centered at 38–48 inches above the finished floor (depending on client height preference).
If you're adding a handheld sprayer or rain head, now's the time. We install a 3-way diverter valve and run supply lines to each fixture location. Common setup: overhead rain head + handheld on a slide bar.
Blocking: The Invisible Anchors
Before closing up walls, we install 2×8 or 2×10 blocking wherever fixtures or accessories will mount:
- Valve body height (38–48")
- Shower head height (78–80" for fixed, 72" for handheld slide bar top)
- Grab bars (33–36" for horizontal bars)
- Soap niche (eye level, usually 48–60")
Blocking runs horizontally between studs. This gives you solid wood backing for all mounting screws. Without it, you're relying on drywall anchors to hold a glass door or tile niche — and that fails.
Niches and Built-Ins: Install Before Waterproofing
If you want a recessed soap niche, we frame and install it now. Every niche we build is site-built on the job — we don't use prefab foam niches.
How we build it: 2× lumber framing between studs gives a solid box. The opening and all seams get wrapped with bituthene flashing membrane (peel-and-stick rubberized asphalt). Cement board like Wonderboard lines the niche interior. The bituthene ties into the pan liner turn-up and continues up the wall behind the cement board — so there's a continuous membrane around the niche box. Tile goes on top. Cost: $150–250 in labor plus backer and flashing materials.
Why site-built over prefab foam: a site-built niche gets you any size or shape you want and ties into the same waterproofing system as the rest of the shower. A prefab foam niche relies on a bond between two different manufacturer's products at the exact seam where water is trying to get in. We've seen both in the wild. Site-built is what we install.
We install niches before the pan liner and wall waterproofing go up — the bituthene flashing wraps from the niche edges into the wall waterproofing without seams. Adding a niche after the wall is sealed cuts holes in your moisture barrier.
Waterproofing: The Layer That Matters
This is the single most important phase. No amount of beautiful tile will save a shower if water gets behind the walls.
We use one system on every shower we build: a CPE (chlorinated polyethylene) shower pan liner for the floor, turned up onto the walls, with cement board above the turn-up and bituthene flashing at penetrations and niche openings. No bonded liquid membranes, no foam-board panel systems. Here's why:
CPE Pan Liner System
The liner runs up the walls at least 8 inches above the curb height, and we fold it carefully at all corners and around the drain. The drain assembly clamps the liner between two flanges — this is the critical seal.
Walls get 1/2" Hardie Backer or Durock cement board above the pan liner turn-up, screwed into studs every 8" with corrosion-resistant screws. Seams get alkali-resistant mesh tape and a layer of thinset before tile goes on. Penetrations, niche openings, and any transitions get bituthene flashing wrap to extend the waterproofing beyond where the CPE pan liner ends.
Shower Pan Mortar Bed: The Slope
Over the CPE liner, we build a mortar mud bed — a 2–3" thick layer of sand-mix concrete that slopes toward the drain at 1/4" per foot. This is a full-day pour that needs to cure for 24–48 hours.
The mortar bed serves two purposes: it creates positive drainage so water doesn't pool, and it provides a solid substrate for floor tile. We screed it smooth and check slope with a 4-foot level.
Cost for mortar bed materials and labor: $400–600.
Tile Edges: Bullnose vs. Schluter
Before setting any tile, we decide how to finish exposed edges — corners, niche perimeters, curb tops. Two approaches:
Bullnose Tile Classic Look
$8–15/linear foot
Schluter Metal Trim
$4–8/linear foot
We install Schluter trim profiles — we use Square or Minimal (the flat, modern profiles) — before tile. The trim embeds in thinset with the tile butting into it. This protects tile edges from chipping and creates clean lines at transitions. On projects where the client wants a softer, all-tile look, we use pencil bullnose tile instead of metal trim — same function, ceramic instead of metal.
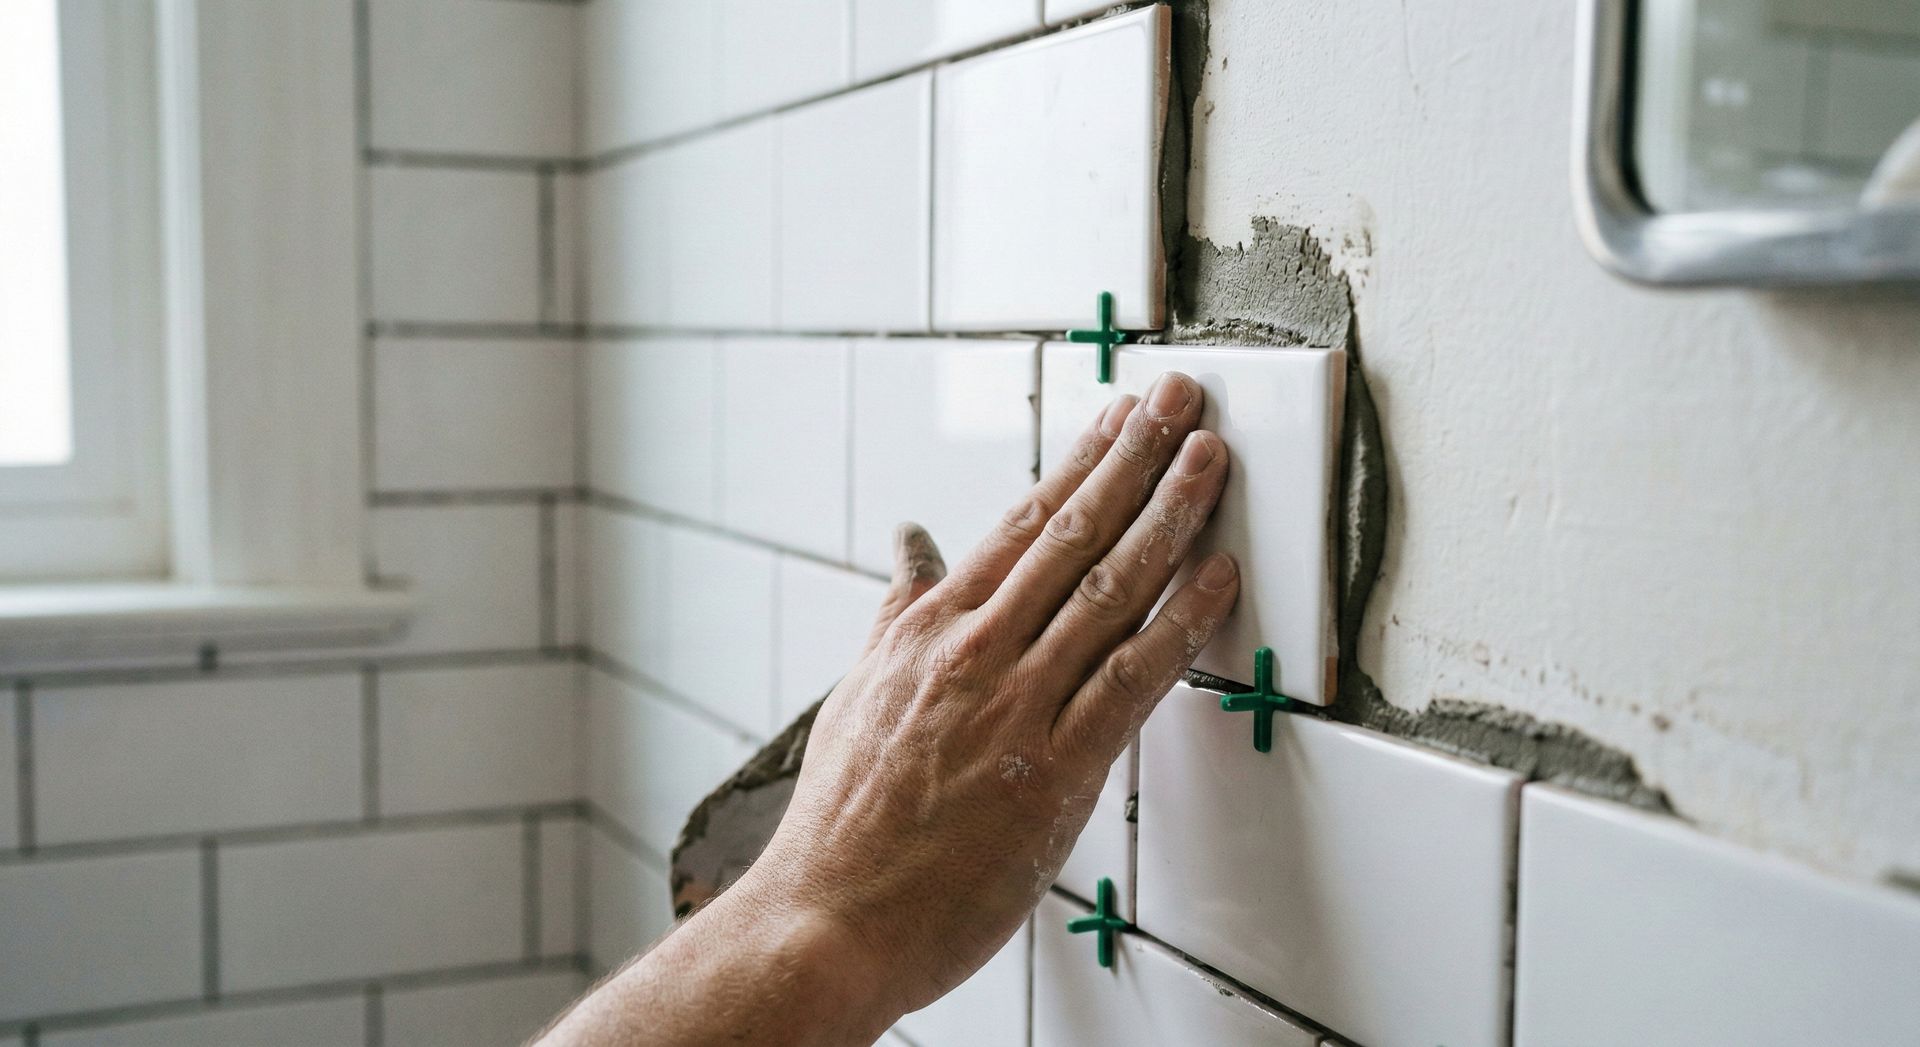
Tile Installation: Walls First, Floor Last
We set tile in this sequence:
Shower walls — starting from the back wall, working forward. We use large-format porcelain (12×24" or larger) for fewer grout lines and modern look. Set tiles with medium-bed mortar and 1/4" notched trowel, back-buttering each tile for 95% coverage.
Niche interior — tile the niche floor, back wall, then side walls. We slope the niche floor slightly forward so water drains out.
Shower floor — usually a mosaic (2" hexagon or penny round) for better traction. Small tiles = more grout lines = more grip. Slope is already built into the mortar bed, so we just follow the plane.
Shower curb — wrap the curb with tile on all three faces (top, bathroom side, shower side). Top surface must slope into the shower so water doesn't run onto the bathroom floor.
Bathroom floor — if we're replacing the full bathroom floor, we do this last and tile up to the shower curb.
Typical 60×36" shower with floor tile and curb: 90–120 sqft of tile total when you include walls, floor, niche, and curb. That's $1,600–3,400 in tile and labor.
Grout, Seal, Caulk: The Finishing Details
After tile sets for 24 hours, we grout. We use epoxy grout for shower floors (stain-proof, waterproof, no sealing needed) and urethane or standard sanded grout for walls (easier to work with, lower cost).
Grout cost: $200–400 for materials and labor.
After grout cures (48–72 hours), we seal all natural stone tile and any cement-based grout with a penetrating sealer. This prevents staining and moisture intrusion. Reapply every 1–2 years.
Plumber Returns: Trim-Out and Fixtures
Once tile is done, the plumber comes back to install the visible fixtures — valve trim, shower head, handheld sprayer, tub spout (if applicable). This is called trim-out.
The valve body is already in the wall from rough-in. The trim kit (handle, escutcheon, etc.) screws or clips onto the valve body, sitting flush against finished tile. Plumber adjusts the stops to set max hot water temperature (usually 105–110°F to prevent scalding).
Fixtures cost depends on finish and brand:
- Builder-grade (Delta, Kohler): $250–500 for valve + trim + shower head
- Mid-range (Grohe, Brizo): $600–1,200
- High-end (Hansgrohe, Waterworks): $1,500–3,000+
Plumber charges $300–500 for trim-out labor.
Shower Door: Template Now, Install in 2 Weeks
With tile complete and grout cured, we call the glass company for templating. They measure the opening, check for plumb and level (tile isn't always perfect), and fabricate a custom door.
Shower Door Options
| Type | Cost Installed |
|---|---|
| Standard semi-frameless slider | $800–1,200 |
| Frameless pivot or slider (3/8" glass) | $1,800–2,800 |
| Frameless inline panel + door (1/2" glass) | $2,400–3,500 |
| Custom cut-outs, notches, or angles | +$200–600 |
We prefer frameless 3/8" tempered glass with a hinged door for most remodels. Clean look, easy to maintain, and the door swing is more practical than sliders in tight bathrooms. Lead time is usually 10–14 days from template to install.
The glass company drills through tile into the blocking we installed at framing. This is why blocking placement is critical — miss it by 2 inches and you're drilling into hollow wall.
Total Project Cost and Timeline
Complete Shower Remodel — ~$14,000
| Phase | Cost |
|---|---|
| Demo and framing repair | $800 |
| Plumbing rough-in and trim-out | $1,500 |
| Waterproofing (liner, membrane, mortar bed) | $1,200 |
| Tile materials (walls, floor, curb) | $1,800 |
| Tile labor | $2,800 |
| Grout, seal, caulk | $400 |
| Shower door (frameless slider) | $2,400 |
| Fixtures (valve, trim, shower head) | $700 |
| Blocking, backer board, miscellaneous | $600 |
| Permits and inspections | $300 |
| Contingency (10%) | $1,500 |
| Total | ~$14,000 |
Timeline: 3–4 weeks from demo to final door install, assuming no major framing repairs or long-lead custom tile. The shower is functional (but doorless) at 2 weeks — you can use it while waiting for glass.
What Actually Determines Quality
The difference between a $9,000 shower and a $20,000 shower often isn't the tile — it's the framing prep, waterproofing method, and installation precision. We've ripped out $30,000 "designer" showers that failed in 5 years because the installer skipped blocking or didn't slope the mortar bed correctly.
Three things that buy longevity:
- Proper framing inspection and repair — don't tile over problems
- Full CPE liner turned up onto cement board walls, flashed with bituthene at every transition — one continuous waterproofing system
- Blocking everywhere you'll ever mount something — because opening tile later is a nightmare
If your contractor tries to skip the pan liner ("backer board is waterproof!") or suggests tiling directly over drywall ("it's cheaper!"), walk away. Those jobs fail. It's just a matter of when.
Thinking about a shower remodel?
We'll walk through your space, discuss your goals, and give you a realistic estimate — no pressure, no sales pitch.
Related reading
- The Complete Guide to Bathroom Remodeling in Oakland (2026) — cost tiers, waterproofing principles, tile philosophy, realistic timeline, and the scope we handle.
- What a Bathroom Remodel Actually Costs in Oakland — the cost deep-dive with material-level pricing for each phase.
- The Complete Guide to Countertops in Oakland (2026) — materials, install sequence, seam placement, and what we refuse to do.
- What We're Installing in 2026: Flooring and Countertops That Actually Last — our current tile and material picks.