A real $4,200 GAIA Impala LVT install we had to fix in an Oakland kitchen. This is the deep-dive on the flooring phase and the one baseboard mistake that costs Oakland homeowners thousands.
Most homeowners see the finished floor — flush baseboards, clean edges, no trim gaps — and assume every contractor does it the same way. They don't. A lot of "cheaper" quotes on kitchen flooring in Oakland hide shortcuts that cost homeowners more in the end. This post is about one of them: a GAIA Impala LVT job we got called in to fix, and the $4,200 mistake the first contractor baked into the job before he even picked up a board.
The $4,200 Mistake That Started This Post
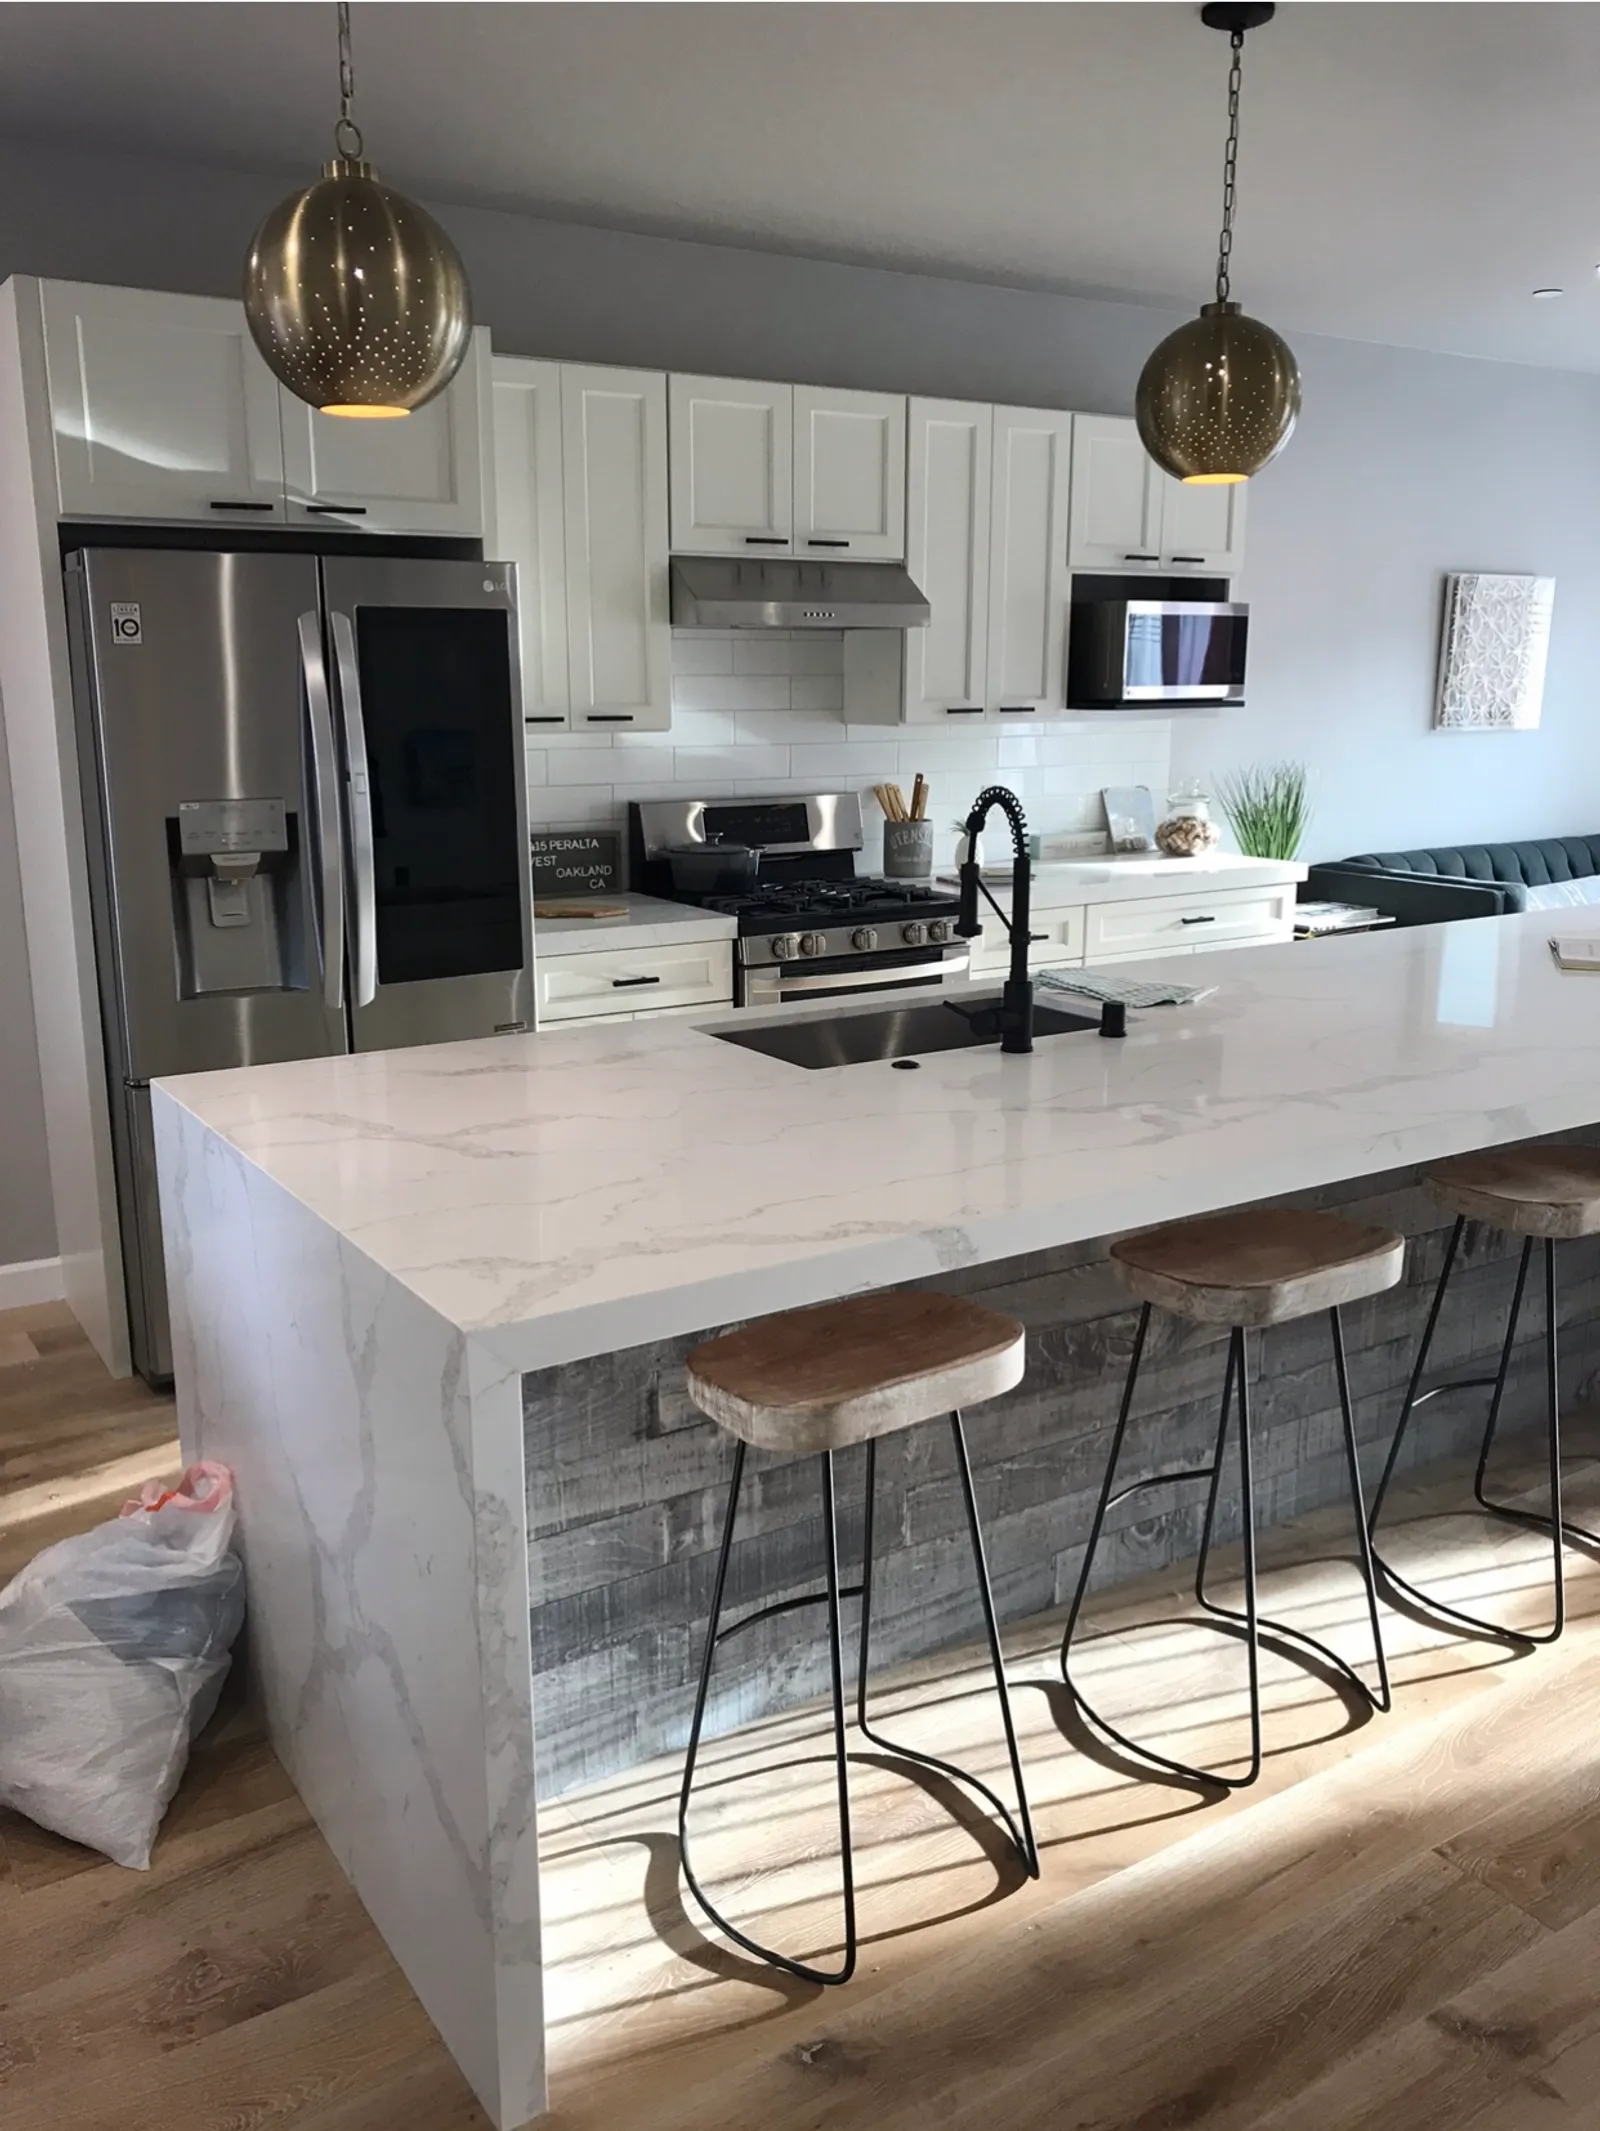
A homeowner called us after another contractor installed GAIA Impala LVT in her kitchen. The first guy had talked her into a shortcut: instead of pulling the existing baseboards and installing the flooring flush to the wall, he left the old baseboards in place, butted the LVT up against them, and planned to hide the uneven gaps with a strip of quarter round trim.
It didn't work. Old baseboards are never perfectly straight. Once the LVT went in, gaps along every wall were visible — in some spots ¼", in others close to ½". No piece of quarter round was going to cover that cleanly. She called us the week after the install.
When we came in to fix it, we ran into a bigger problem: GAIA Impala's click-lock assembly lip snaps when you try to lift it back out. You can't salvage the boards. The only path forward was a full re-buy of the LVT, new baseboards (the old ones had to come off anyway), and a proper install done the right way.
What the "Shortcut" Actually Cost
| Item | Cost |
|---|---|
| Remove failed LVT (unsalvageable — click-lock lip snapped) | $350 |
| New GAIA Impala LVT — full re-buy | $1,800 |
| Remove old baseboards + install new ones | $600 |
| Proper install, flush to wall | $1,450 |
| Total to fix the first contractor's mistake | ~$4,200 |
Every dollar of that was avoidable. Here's how we avoid it.
Why Baseboards Come Off First (and New Ones Go On Last)
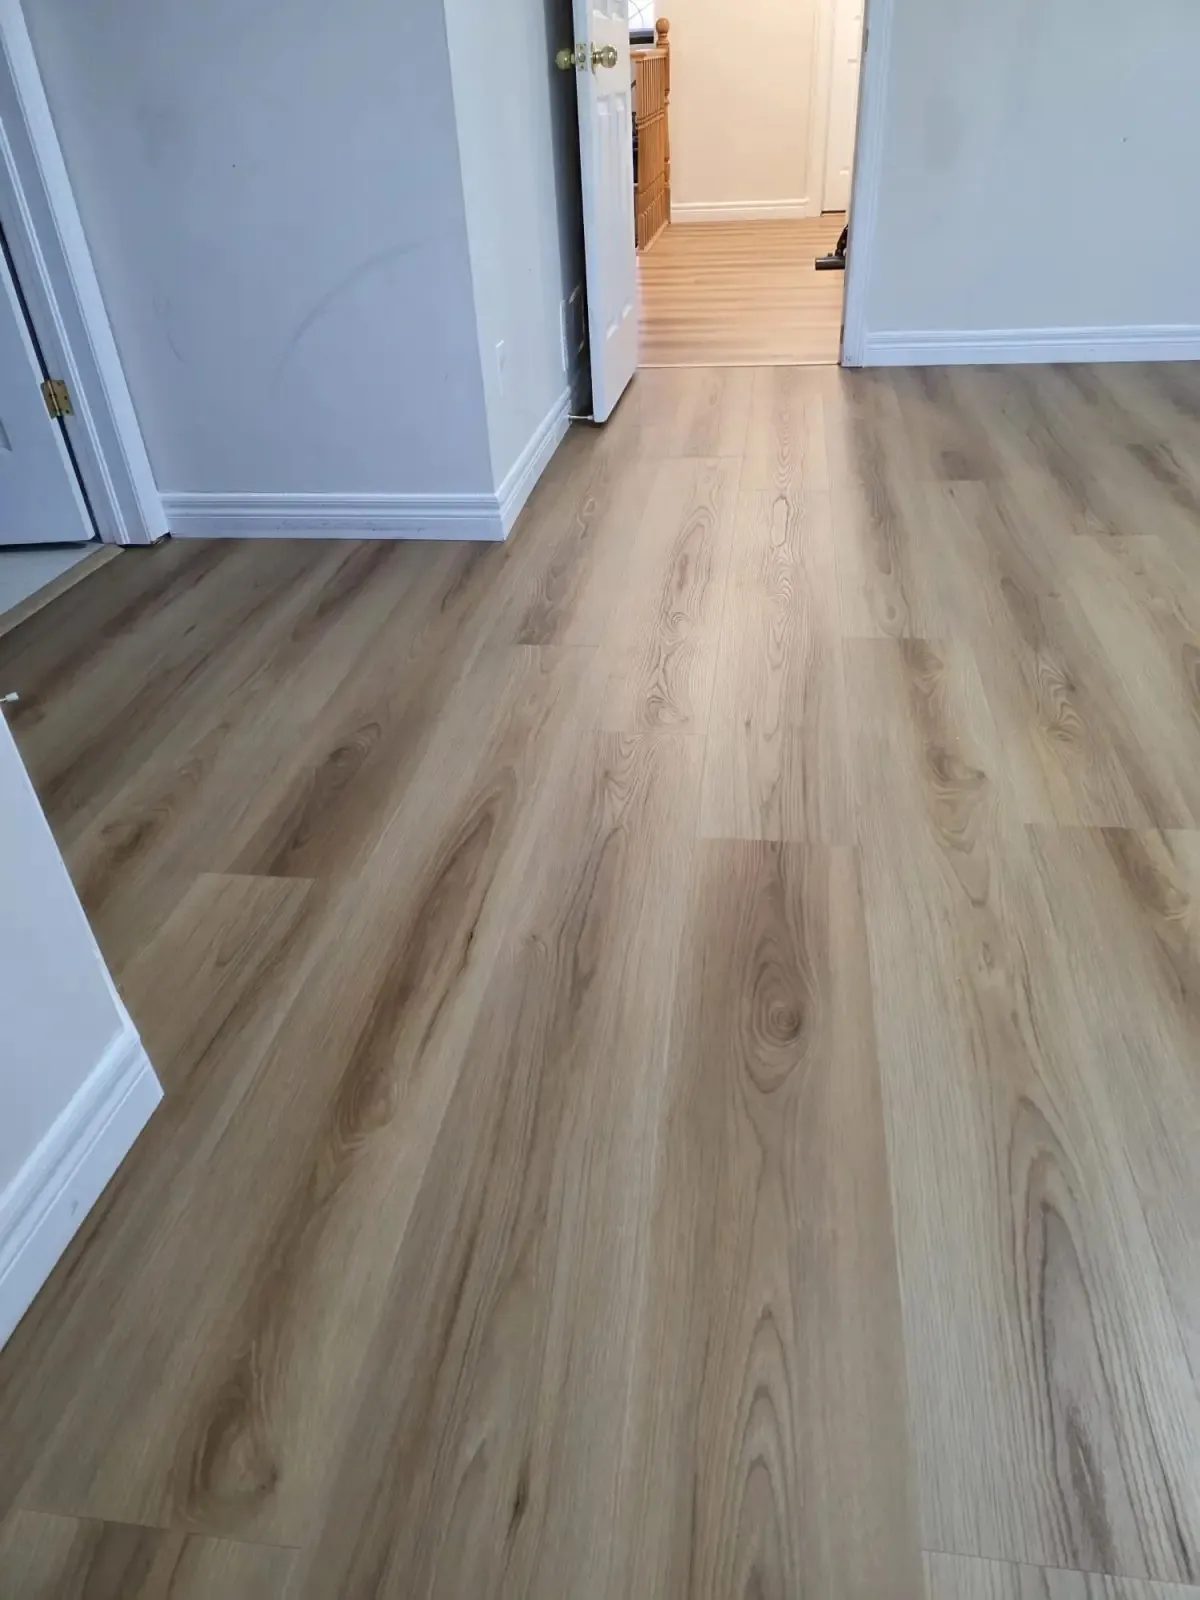
The right way to install LVP, LVT, or hardwood in a kitchen is almost always the same order: remove existing baseboards → prep subfloor → install flooring wall-to-wall → install new baseboards on top. Not quarter round as a cover-up. Actual new baseboards, sitting on top of the finished flooring, hiding the manufacturer-required expansion gap underneath.
Two reasons this matters:
- Click-lock flooring needs an expansion gap at every wall. LVP, LVT, and engineered hardwood all move with temperature and humidity. The board itself has to float. If you trap it tight against an old baseboard, it buckles in summer. Leave a visible gap and the job looks unfinished. The only clean solution is to pull the baseboards, leave a ¼" gap behind them, and cover that gap with fresh baseboard installed after.
- Old baseboards almost never reinstall clean. Even if you pull them carefully, the paint edge on the wall above and the nail holes below make them look wrong once they go back up. We price new baseboards into almost every flooring job as a standard line item, not an upsell.
What We Actually Find Under Old Oakland Kitchen Floors
Oakland kitchens are old. Rockridge craftsmans, Maxwell Park bungalows, Temescal Victorians — most of the homes we work in predate World War II, and the original kitchen floor is almost never what's under the current one. We pull up a lot of flooring in this city, and the same two surprises come up over and over:
- Rotted plywood around the dishwasher and sink base. Slow leaks that took 5–15 years to show. Sometimes the homeowner never knew. The plywood flexes under your foot but holds weight — until you pull up the old vinyl and find the top ply has turned to wet cardboard.
- Multiple old layers stacked together. Vinyl over linoleum over ceramic tile, sometimes with a layer of ¼" luan stapled in between. Each layer got added instead of removed by someone's remodeler back in 1987, 1995, 2004. All of it has to come out before modern click-lock flooring will lock up correctly — the subfloor has to be flat, clean, and properly bonded to the joists.
On a typical Oakland kitchen, fixing those two subfloor issues adds $800–$1,800 to the flooring phase of the remodel. It's not fun news to deliver, but finding it early — during demo, with walls already open — is always cheaper than finding it after the cabinets are in.
The Install Order That Prevents Every One of These Problems
Here's the sequence we follow on almost every Oakland kitchen flooring install:
Remove old flooring, old baseboards, and any stacked underlayment layers. Carry off old materials, vacuum the subfloor, and do a first-pass inspection for rot, leaks, and level.
Replace rotted plywood sections around the sink and dishwasher. Sister in new plywood if the substrate is uneven. Screw down loose spots to kill squeaks before they start.
Install LVP, LVT, or hardwood across the entire room footprint — including under where the cabinets will land. Floor goes in first, cabinets sit on top of finished floor.
Cover the new floor fully with Ram Board, tape every seam, and keep it down for every remaining trade — cabinets, counters, paint, plumbing, appliance delivery.
Once cabinets and paint are done, we install new baseboards on top of the flooring, caulk the top edge, and touch up paint. No quarter round. Finished.
Notice what's not in that sequence: no "cabinets first, flooring around them." In a kitchen where the flooring is new, we install the flooring across the whole room before the cabinets go in. Cabinets sit on top of the finished floor, which means if a future owner ever changes the kitchen layout, the floor is already continuous underneath. No weird patch lines, no transitions where cabinets used to be.
Protecting the New Floor During the Rest of the Remodel
The second-most-common way we see new flooring get wrecked is zero protection after install. Paint drips, cabinet crews dragging corners across exposed LVT, plumbers setting tool bags on fresh hardwood. We cover every square inch with Ram Board — the thick brown roll — taped at every seam, run wall to wall, and we don't pull it up until the last appliance is in place.
When the Existing Hardwood Is a Keeper
Different situation: the kitchen already has solid hardwood you're not replacing — just refinishing. Ideally, we sand, stain, and seal the entire floor, including where the new cabinets will land, before the cabinets come in. Cabinets then sit on top of finished wood, exactly like new LVP. That's the proper way, and it's always our recommendation when the cabinet layout is changing.
The reality is that a lot of Oakland kitchen flooring jobs happen with the existing cabinets in place, or with new cabinets landing in exactly the same footprint as the old ones. In those jobs, we refinish around the cabinets — sand, stain, and seal only the exposed floor, stopping at the toe-kick. It saves material and days of labor. The tradeoff is a faint line where the finish changes, only visible if the cabinets ever come out in a future remodel.
Our rule of thumb: if the cabinet layout is changing, refinish first and let the cabinets land on finished wood. If the layout is staying identical, refinish around the existing cabinets. Either way, the floor gets the same stain, the same seal, and the same Ram Board protection afterward.
What a Kitchen Flooring Install Actually Costs
For a typical Oakland kitchen — 150–250 square feet of floor, demo to finish — here's the rough cost shape of the flooring phase inside a full remodel:
Flooring Phase — Typical Oakland Kitchen
| Item | Range |
|---|---|
| Demo + haul away old flooring | $400–900 |
| Subfloor repair (if needed) | $800–1,800 |
| LVP / LVT install (material + labor) | $1,800–3,500 |
| Hardwood install (material + labor) | $2,800–4,500 |
| New baseboards — removed, material, installed | $600–1,200 |
| Ram Board protection during remodel | $120–250 |
Your total depends on square footage, material, and what we find under the old floor. Every number above assumes real install — flush baseboards, wall-to-wall coverage under cabinets, the way it should be done. No shortcuts, no quarter round, no $4,200 surprises six months later.
Thinking about a kitchen flooring project?
Get a free estimate from a licensed Oakland contractor who does it the right way from day one.
Start Your EstimateRelated reading
- How Much Do Kitchen Countertops Really Cost in Oakland? — real 2026 pricing for quartz, granite, and marble.
- The Complete Guide to Countertops in Oakland (2026) — materials, install sequence, seam placement, and what we refuse to do.
- What We're Installing in 2026: Flooring and Countertops That Actually Last — our current picks, including GAIA Impala.