Of every countertop we install in Oakland, pure white is the one homeowners pick most — and it's not close. It's the cleanest look in a kitchen, full stop. Other quartz patterns are beautiful, but a true ultra white hits different: it makes a small kitchen feel bigger, modern cabinets feel more modern, and old-stock cabinets feel current. This is the guide to why we install it, how we install it, and what to know before you pick it.
Why ultra white wins
The short version: it just looks cleaner. The veined and Calacatta-patterned quartzes are gorgeous in their own right, but they add a visual layer to the kitchen — something to read. Ultra white reads as a surface, not a pattern, and that's why it disappears into the room the way a good countertop should.
It also plays well across cabinet styles in a way most patterns don't:
Older cabinets
Shaker, raised-panel, traditional oak — ultra white brightens the space without clashing with the cabinet lines. A common move on East Bay retrofits: keep the cabinets, swap the counter, and the whole kitchen reads ten years newer.
Newer cabinets
Flat-panel, slab-door, modern white or light wood — ultra white locks in the clean, minimalist look these cabinets were designed for. No visual competition.
A true ultra white disappears into the room. That's the point.
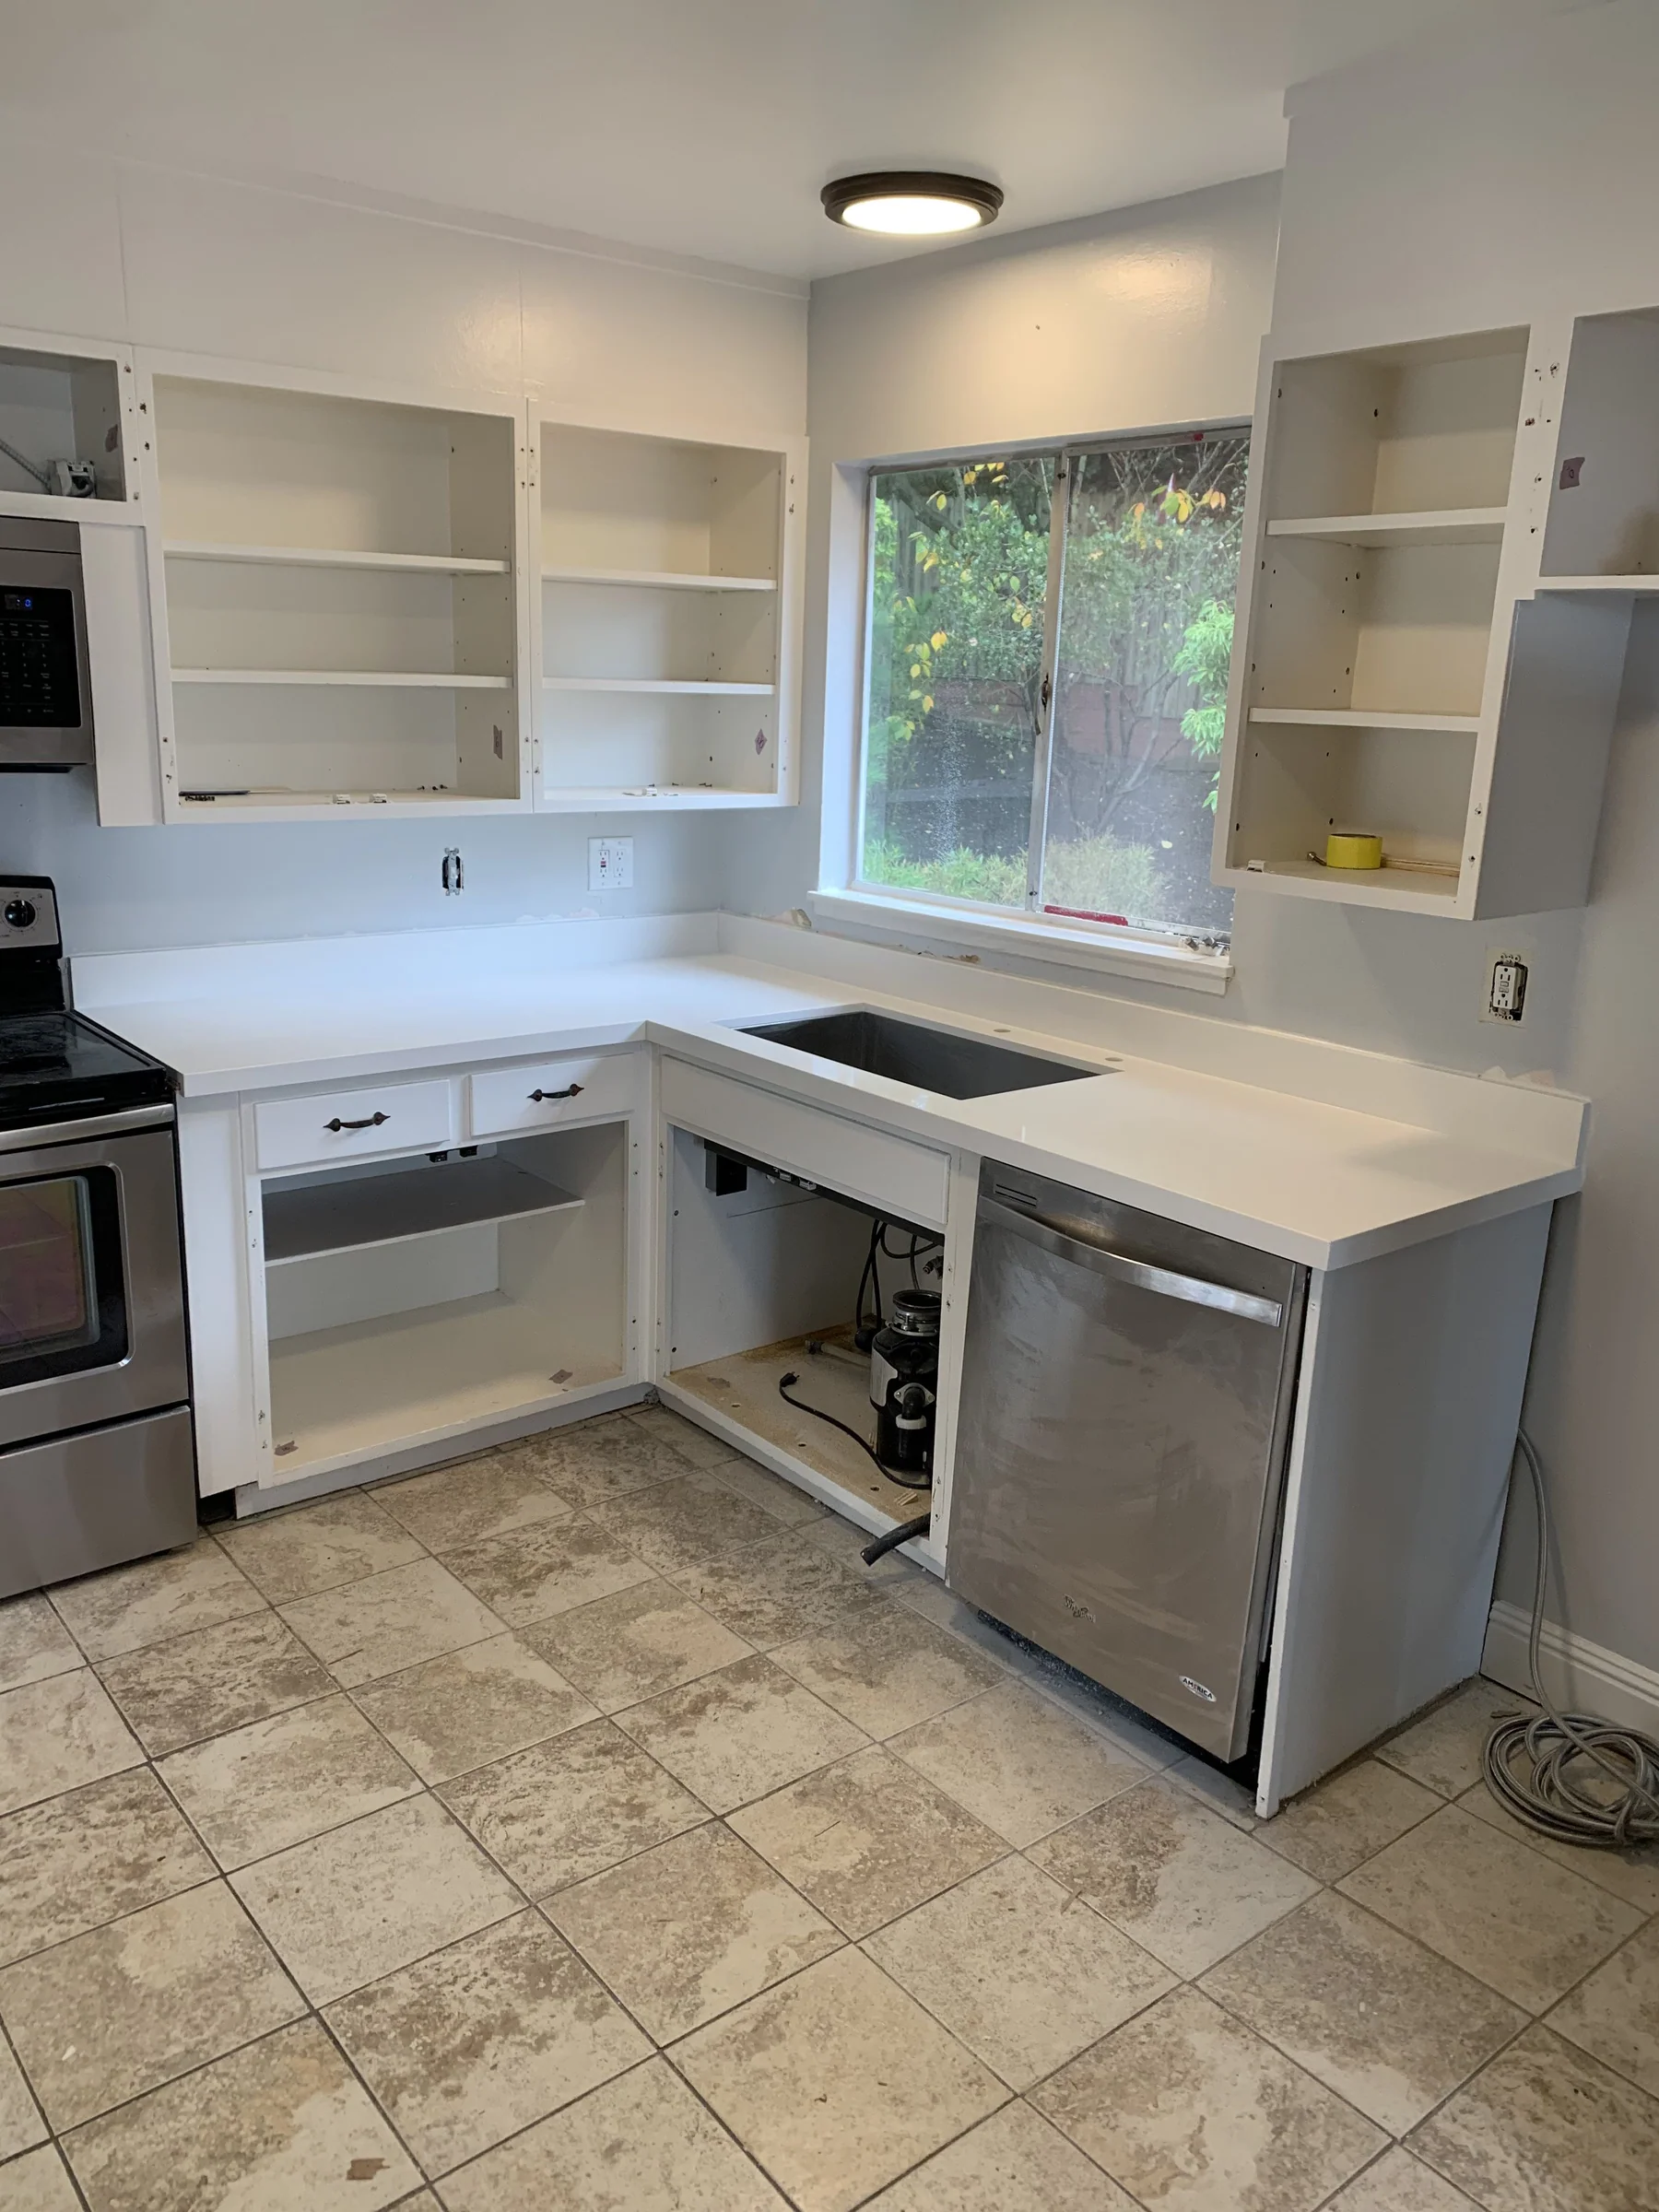
Retrofit installs are where we see this combo most. Homeowners aren't rebuilding their kitchens; they're upgrading the one piece that dates a kitchen the hardest. Replace the counter, the whole room modernizes. We've done this enough times in Oakland and Berkeley to know the conversion is close to instant.
What "ultra white" actually is
Here's the thing most blogs won't tell you: "ultra white" isn't a brand. It's a pattern category. Multiple engineered-stone brands make a version — Silestone's Pure White, Cambria's pure-field options, MSI's ultra white tiers, and private-label slabs stocked at Bay Area slab yards all fit the category.
In Oakland we source most of our ultra white quartz through Granite Expo — their CT-723 Ultra White slab is a private-label ultra white that's become a regional staple. Slabs come consistent, the color is true pure white with no yellow or gray shift, and the 63"×126" full slab covers most East Bay kitchens with one seam or none.
Granite Expo CT-723 Ultra White — Spec Sheet
When you come in for a walkthrough, we'll go over the options we currently stock and source — brand-named versions are available when you want a specific warranty profile, and private-label slabs keep the budget lean without sacrificing the look.
What it costs
Ultra white lands in our budget quartz tier — which is not a dig at the material, it's a function of supply. Ultra white is mass-produced by every major quartz brand, which keeps the slab price competitive. You are not paying a design premium for the most-requested color.
Ultra White Quartz — Bay Area Installed Ranges
| Tier | What you're getting | Range |
|---|---|---|
| Budget | Private-label or entry-line brand (Granite Expo CT-723, Caesarstone core, Silestone core) | $50–80/sqft installed |
| Mid | Upper Caesarstone, MSI Q Premium, Cambria entry patterns | $75–110/sqft installed |
| Premium | Cambria designer series, brand-name Calacatta patterns (not pure white, but related) | $100–150/sqft installed |
How we install it
Once you've picked a slab, the clock starts. Here's what five days actually looks like on a real Oakland job:
A templater comes to your house with either a laser template tool or traditional plywood templates. Existing countertops need to be either out (most cases) or ready for final demo. Templating takes 2–3 hours. Sink location, faucet hole count, edge profile, and any radiused corners are finalized here. Change your mind after template day and you reset the clock.
Our fabricator cuts the slab to the template, polishes the square edge, cuts the sink opening, and places any seams at the predetermined points. Good fabrication isn't fast — rushing a fabrication rushes a polish, and a rushed polish shows under kitchen lights.
Old countertops come out. We pull the existing 3/4" plywood (if any) and replace it with 5/8" ply — that's the thickness where the subtop disappears visually under a 2cm quartz overhang. At 3/4" you can see the plywood when you lean down; at 5/8" you don't.
New stone gets set with stone adhesive on the subtop. Set takes 4–8 hours depending on kitchen size and number of pieces. If there's a seam, it goes in the sink cutout (more on that below). Adhesive needs 24 hours to cure before you put stress on it.
Faucet, undermount sink, dishwasher lines, and garbage disposal all get put back. You can use the kitchen again — carefully.
If you're adding a 3×6 white subway backsplash, that's 1–3 days on top depending on kitchen size and layout complexity.
Two details in that sequence are the ones that actually matter — more than slab brand, more than edge profile, more than anything else we'd argue with a fabricator about. They're the things most contractors don't talk about publicly.
Pairing: cabinets + backsplash
The combinations you'll see most across our East Bay kitchens:
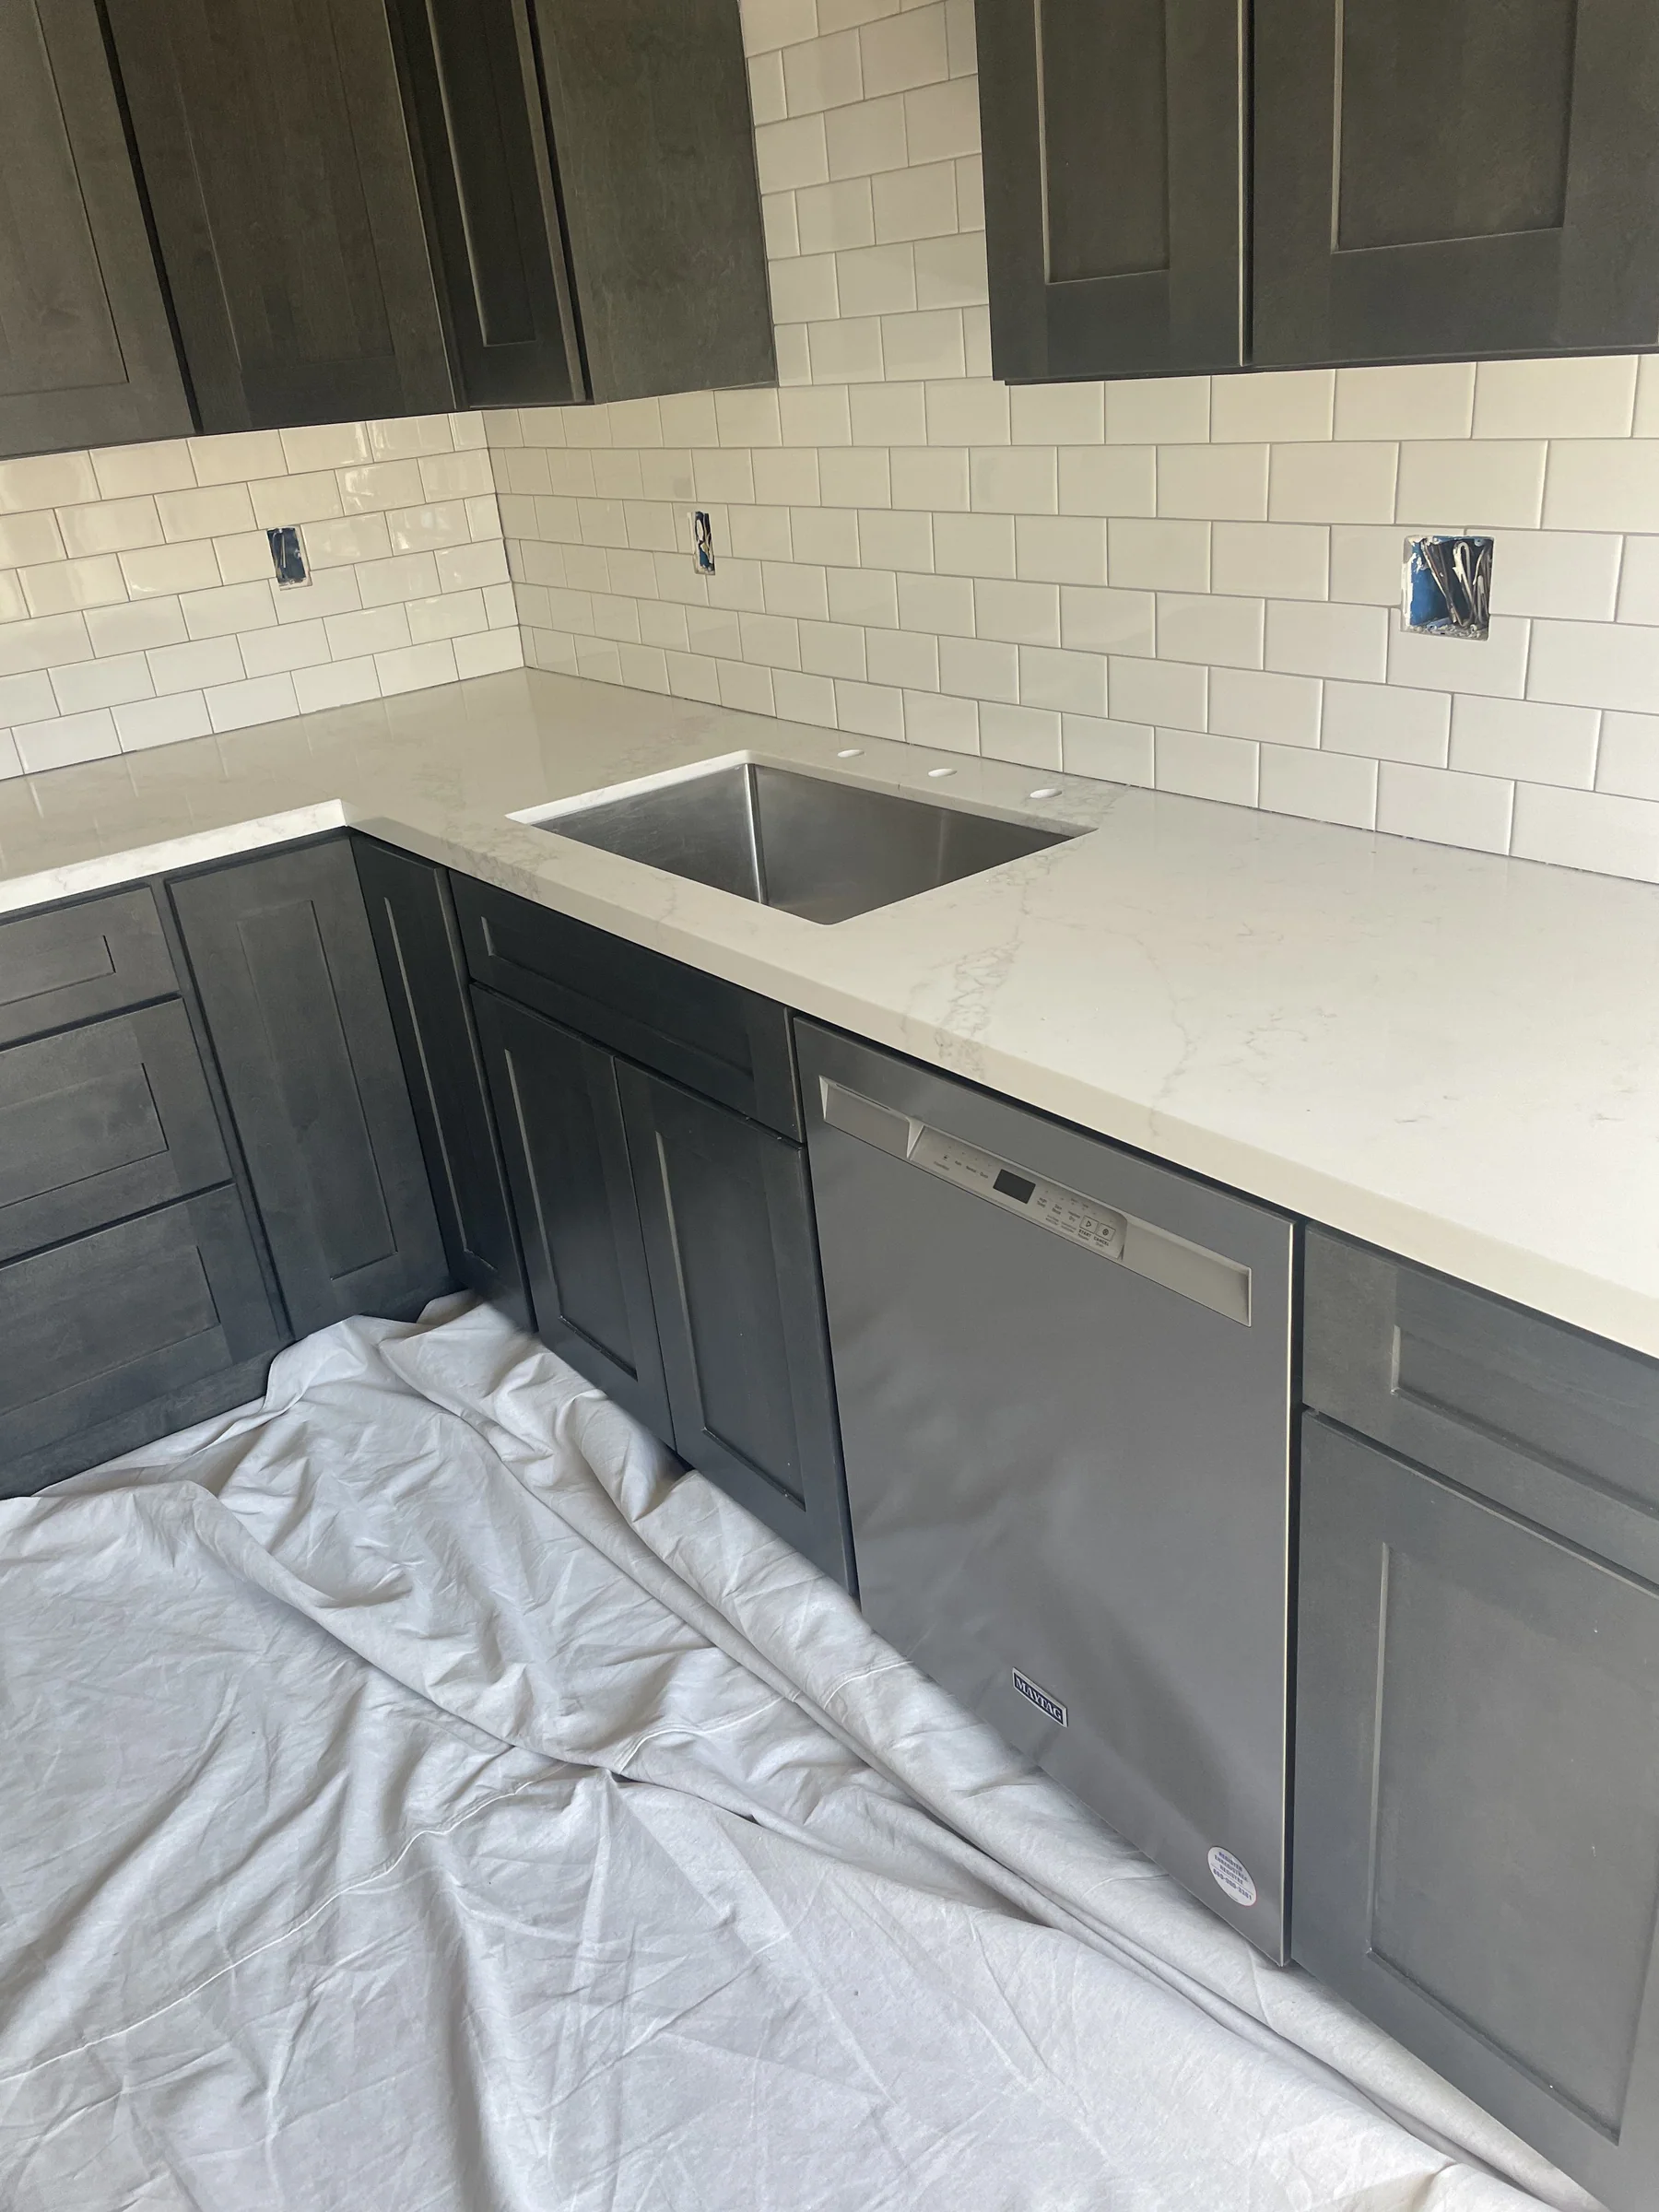
- Cabinets: White shaker (classic), cream shaker (warmer, popular in Berkeley retrofits), dark gray shaker (modern contrast), flat-panel light wood (modern retrofit), or the existing cabinets you already have — refaced or left alone
- Backsplash: By far the most popular pairing is 3×6 white subway tile — classic, cheap, modernizes the wall without competing with the counter. Some of our Alameda jobs use chevron-laid subway for extra texture without adding color
- Hardware: Matte black or brushed nickel both work; pick one and commit across the whole kitchen
- Sink: Stainless undermount is the default — shows the square edge cleanly. Our go-to is Granite Expo's CS11U-16 in 16-gauge stainless (see specs below). White composite works if you want monochrome
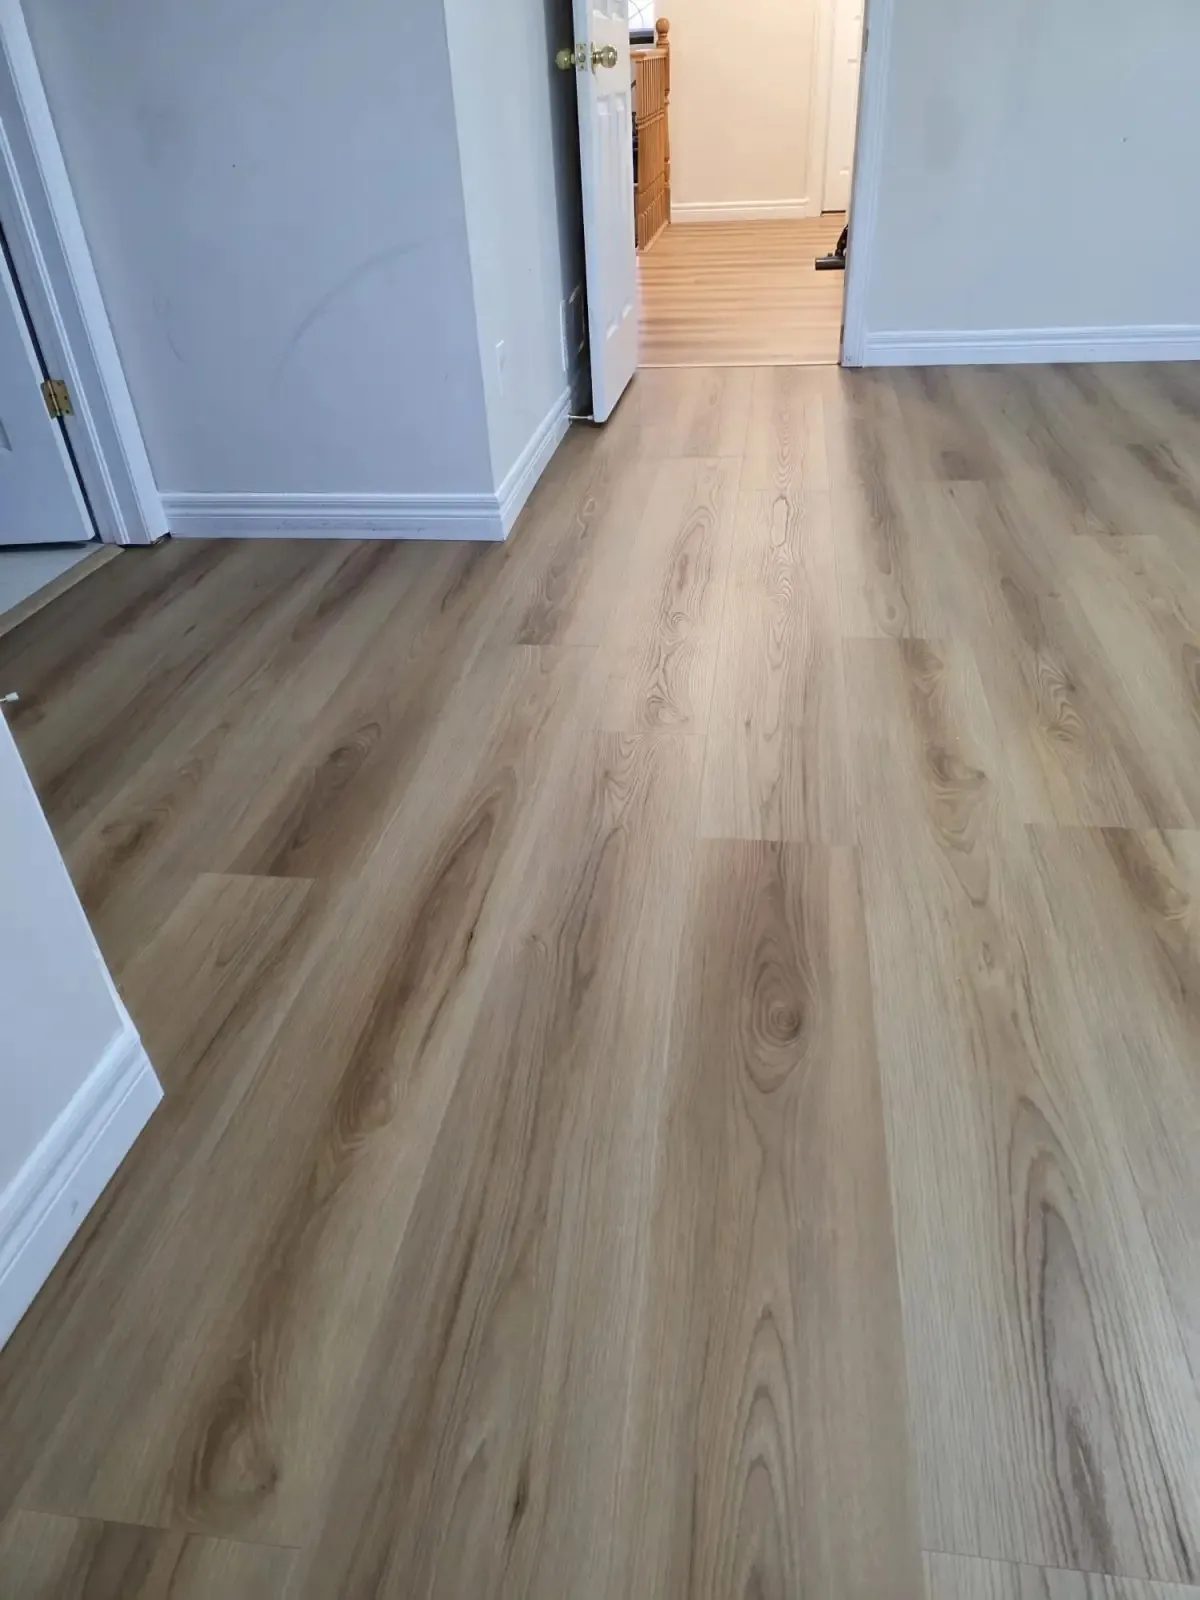
- Flooring: LVP in a neutral wood tone or tile in a soft gray — see our kitchen flooring install guide for what not to do
Homeowners occasionally ask about darker backsplashes or patterned tile with ultra white, and it works — but the 3×6 subway is the combo we install most because it's timeless and photographs well if you ever sell.
Our Default Undermount Sink — Granite Expo CS11U-16
16-gauge is a real quality signal — lower gauge number equals thicker steel. 22-gauge is what budget retail sinks use; it dents and dampens poorly. 16-gauge is the premium grade — thick walls, no resonance under running water, and it takes decades of use without denting. 9" depth gives room for any pot in your kitchen without splashing, and the 30" × 18.5" footprint fits a standard 36" sink base cabinet with clean clearance for the undermount clips.
Before you commit to ultra white
- Check your lighting temperature. Warm LEDs (2700K) make ultra white read as true bright white. Cool LEDs (4000K+) can make it read slightly blue. Hold a sample in your kitchen before final slab approval.
- Confirm your fabricator uses 5/8" subtop. If they default to 3/4", ask them to swap. It's a five-minute conversation that improves the install forever.
- Plan seam placement BEFORE template day. If your kitchen needs a seam, make sure it's going in the sink cutout, not across open counter. Template day is the moment to lock this.
- Decide on square vs eased edge. We default to square edge on ultra white — it reads modern and clean. Eased (slightly rounded) is the traditional alternative; both are fine but they read differently.
- Inspect slab for consistency. Ultra white should be true pure white. A slab with yellow or gray shift is a defect — check it under kitchen-temperature lighting at the slab yard, not under the yard's fluorescents.
- Know what you're paying for. Budget-tier ultra white is not a downgrade — it's the tier where design competition happens. Don't let a fabricator upsell you to "premium" ultra white unless you want a specific brand warranty.
- Ask about the plywood subtop condition. On older cabinets, the existing subtop may be rotted, warped, or water-damaged. That's fine — just confirm replacement is in the quote, not a surprise add-on.
Lighting and everyday care
Beyond install, two things about ultra white quartz are worth knowing for everyday living:
Heat and UV are the only real weaknesses. Quartz of any color is engineered stone — the binding resin doesn't love extreme heat (always use a trivet) or direct prolonged UV (not an issue indoors for most kitchens). Beyond that, ultra white quartz is no more fragile than any other quartz. It's non-porous, stain-resistant, and doesn't need sealing — ever.
Cleaning is water + dish soap. No stone cleaners, no abrasives, no bleach. A microfiber cloth and warm soapy water handles 100% of what a kitchen throws at a countertop. Dried-on food? Soak it. Red wine? Wipe it. Ultra white quartz shrugs off everything except a hot pan and direct sun.
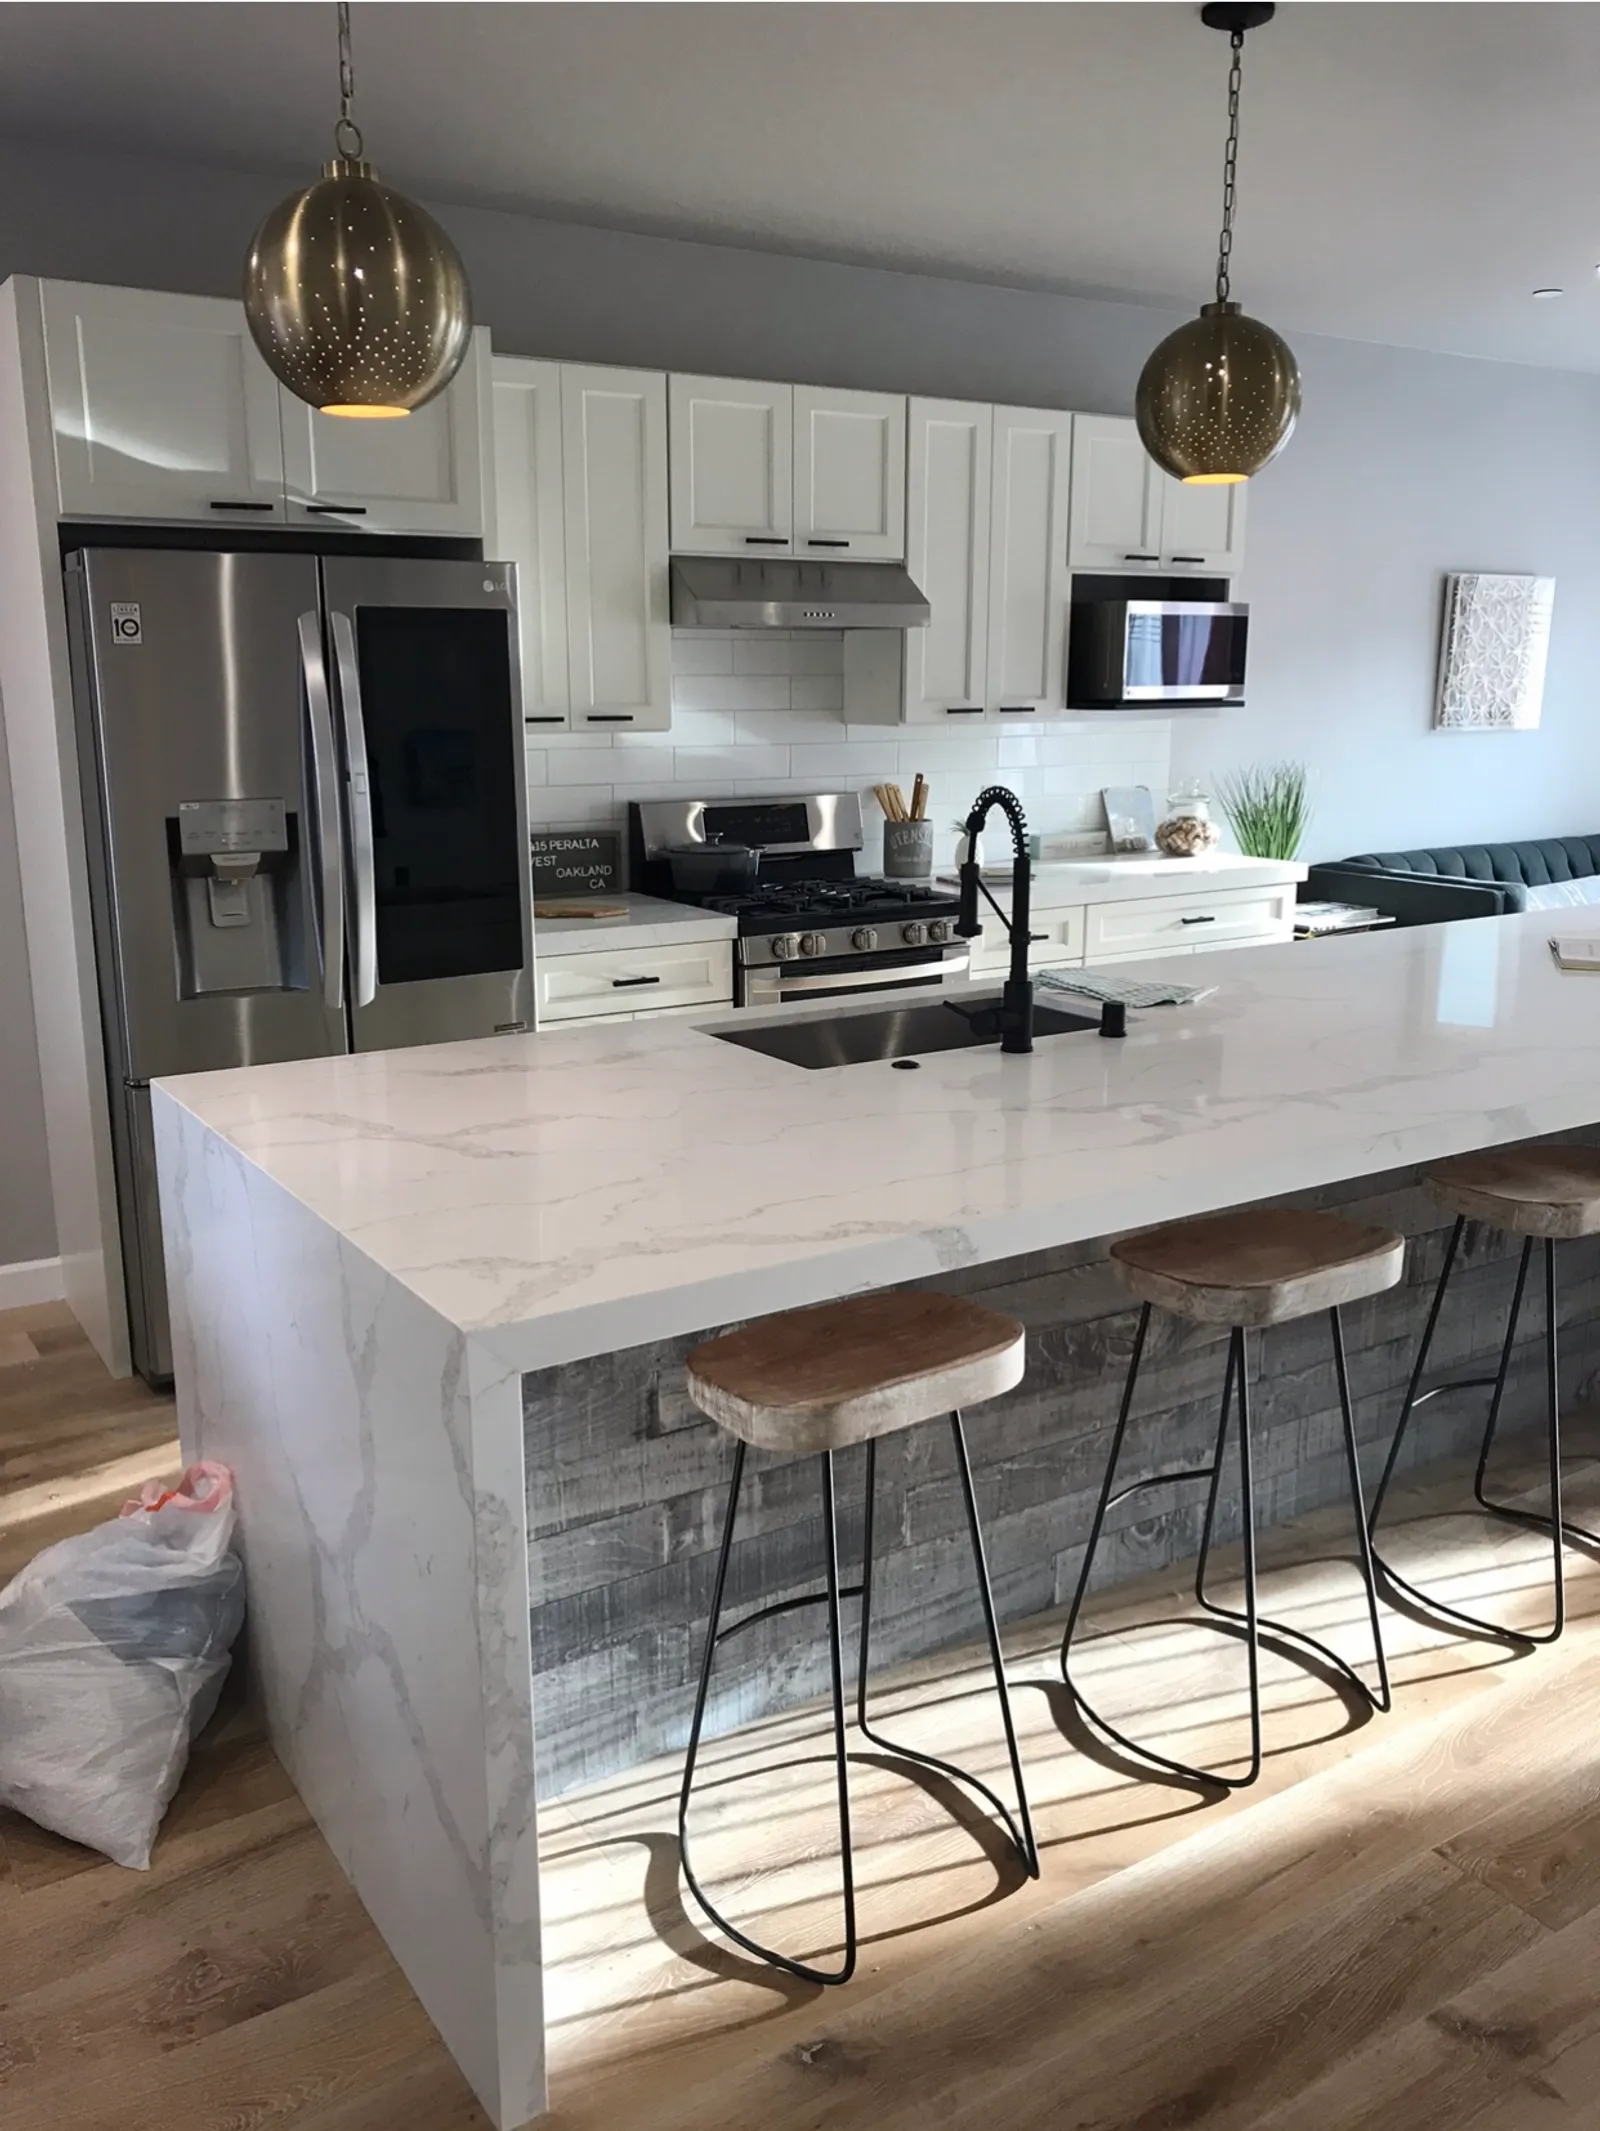
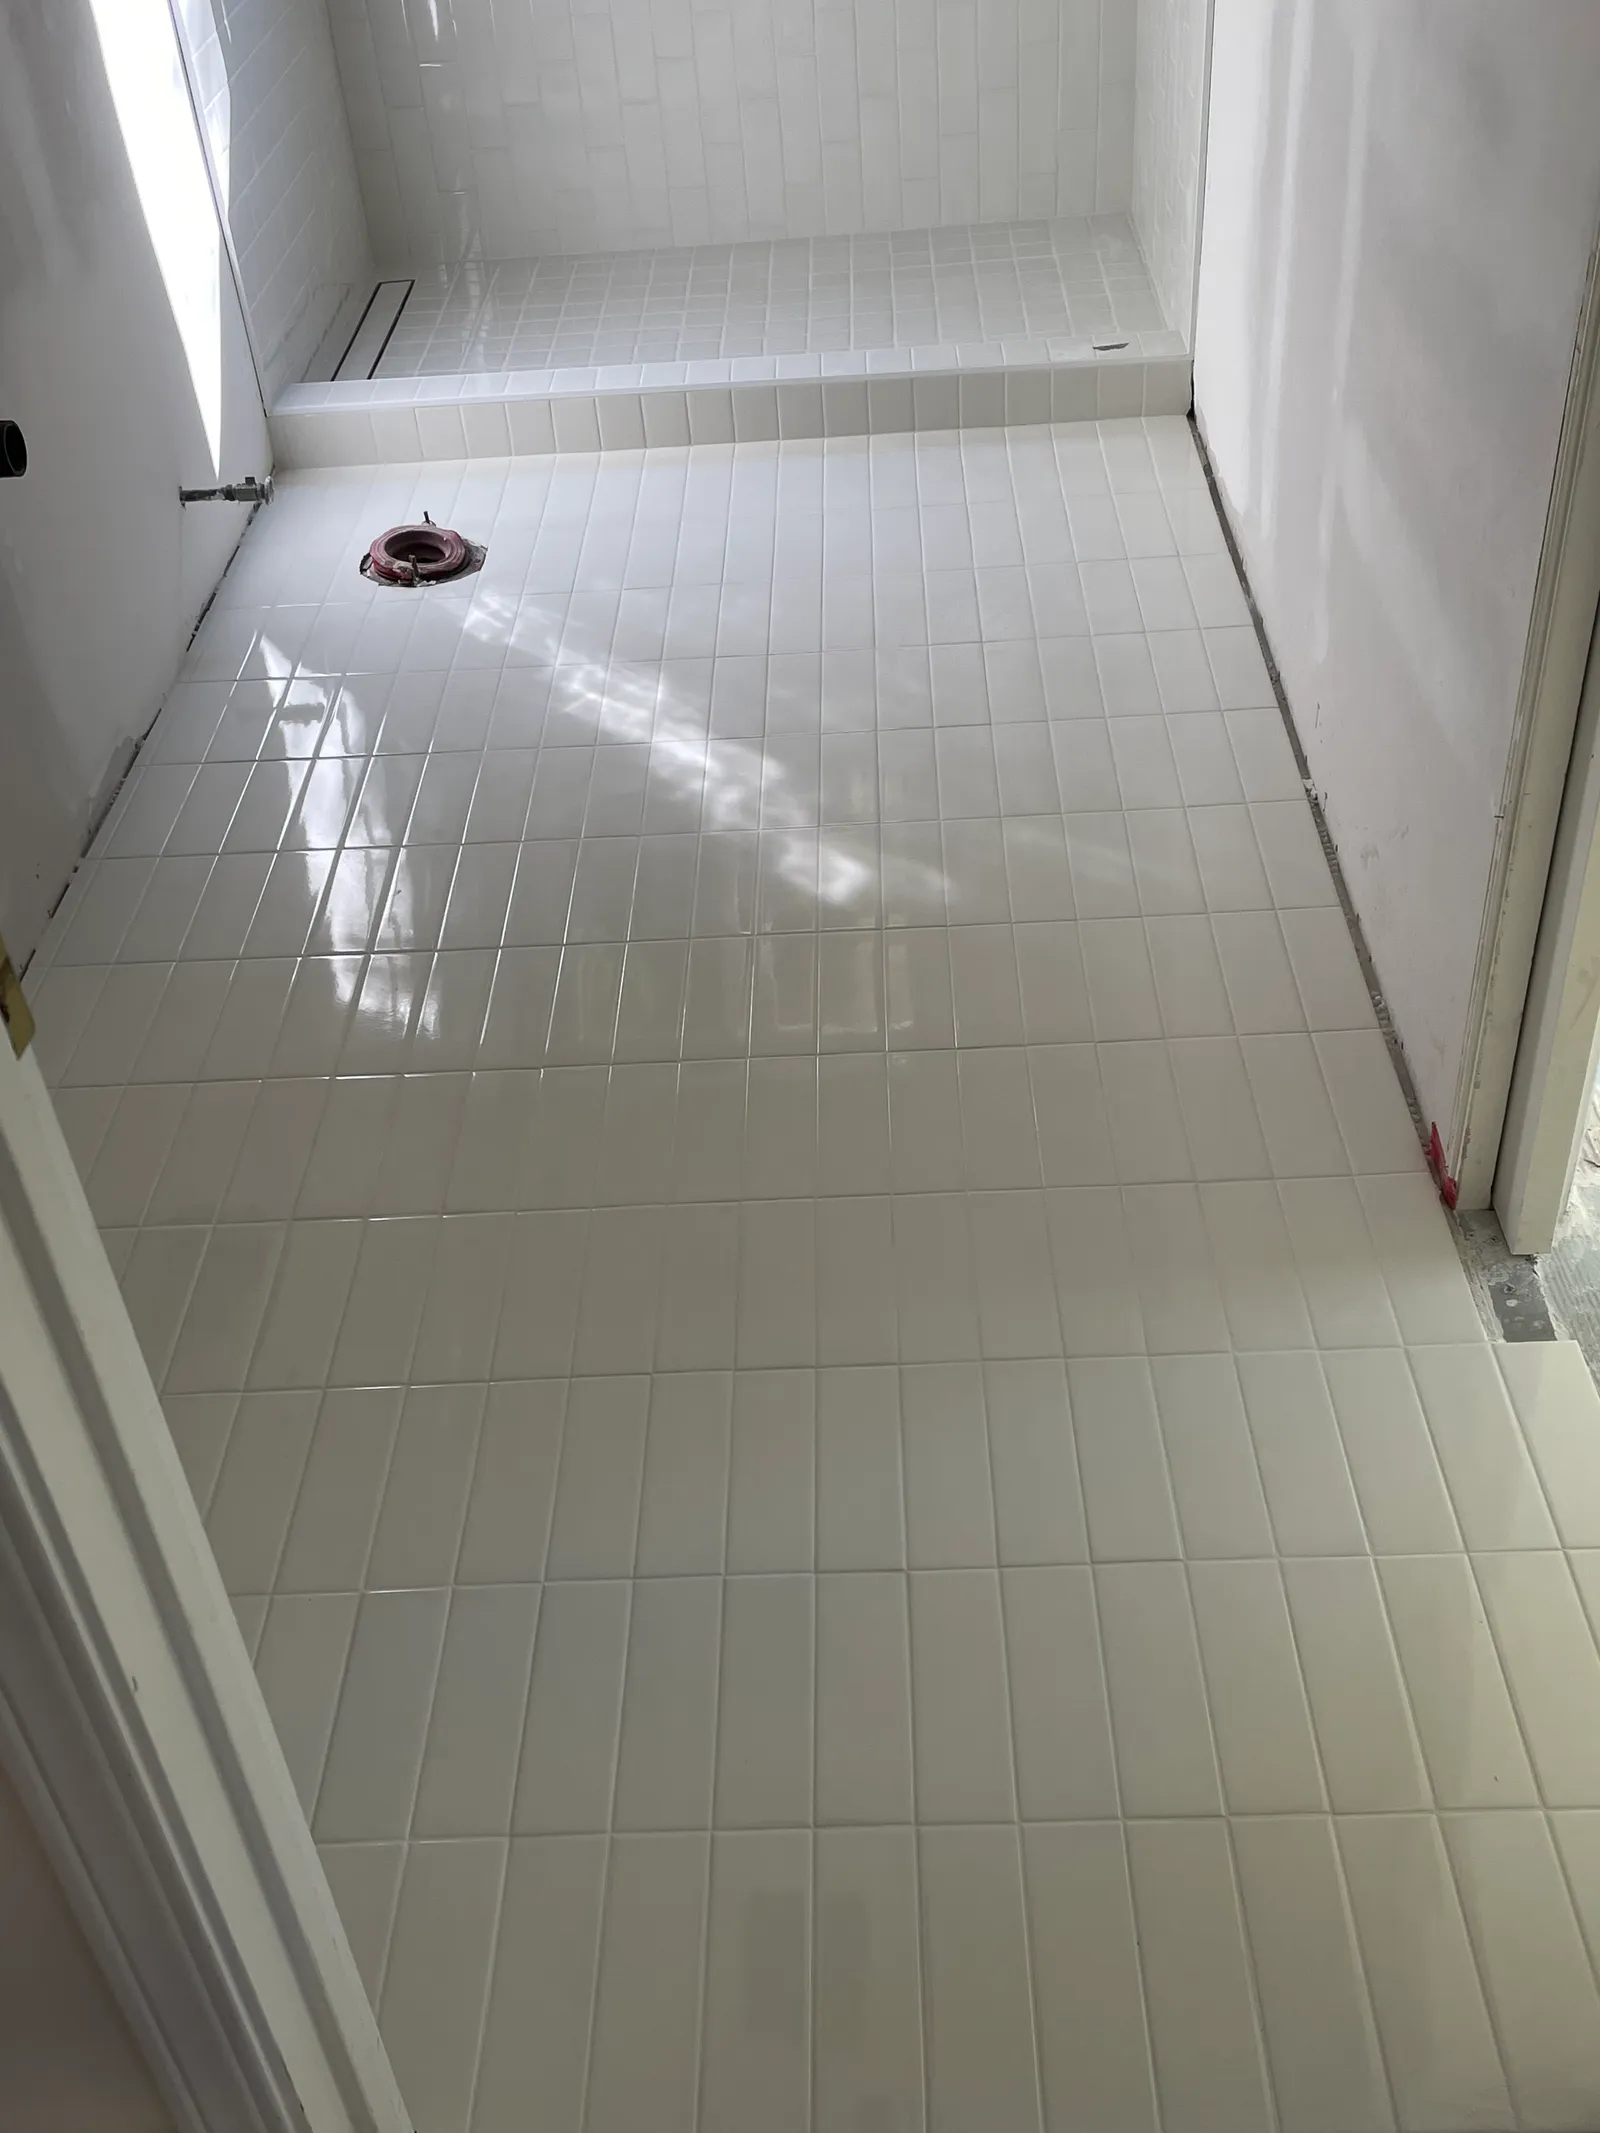
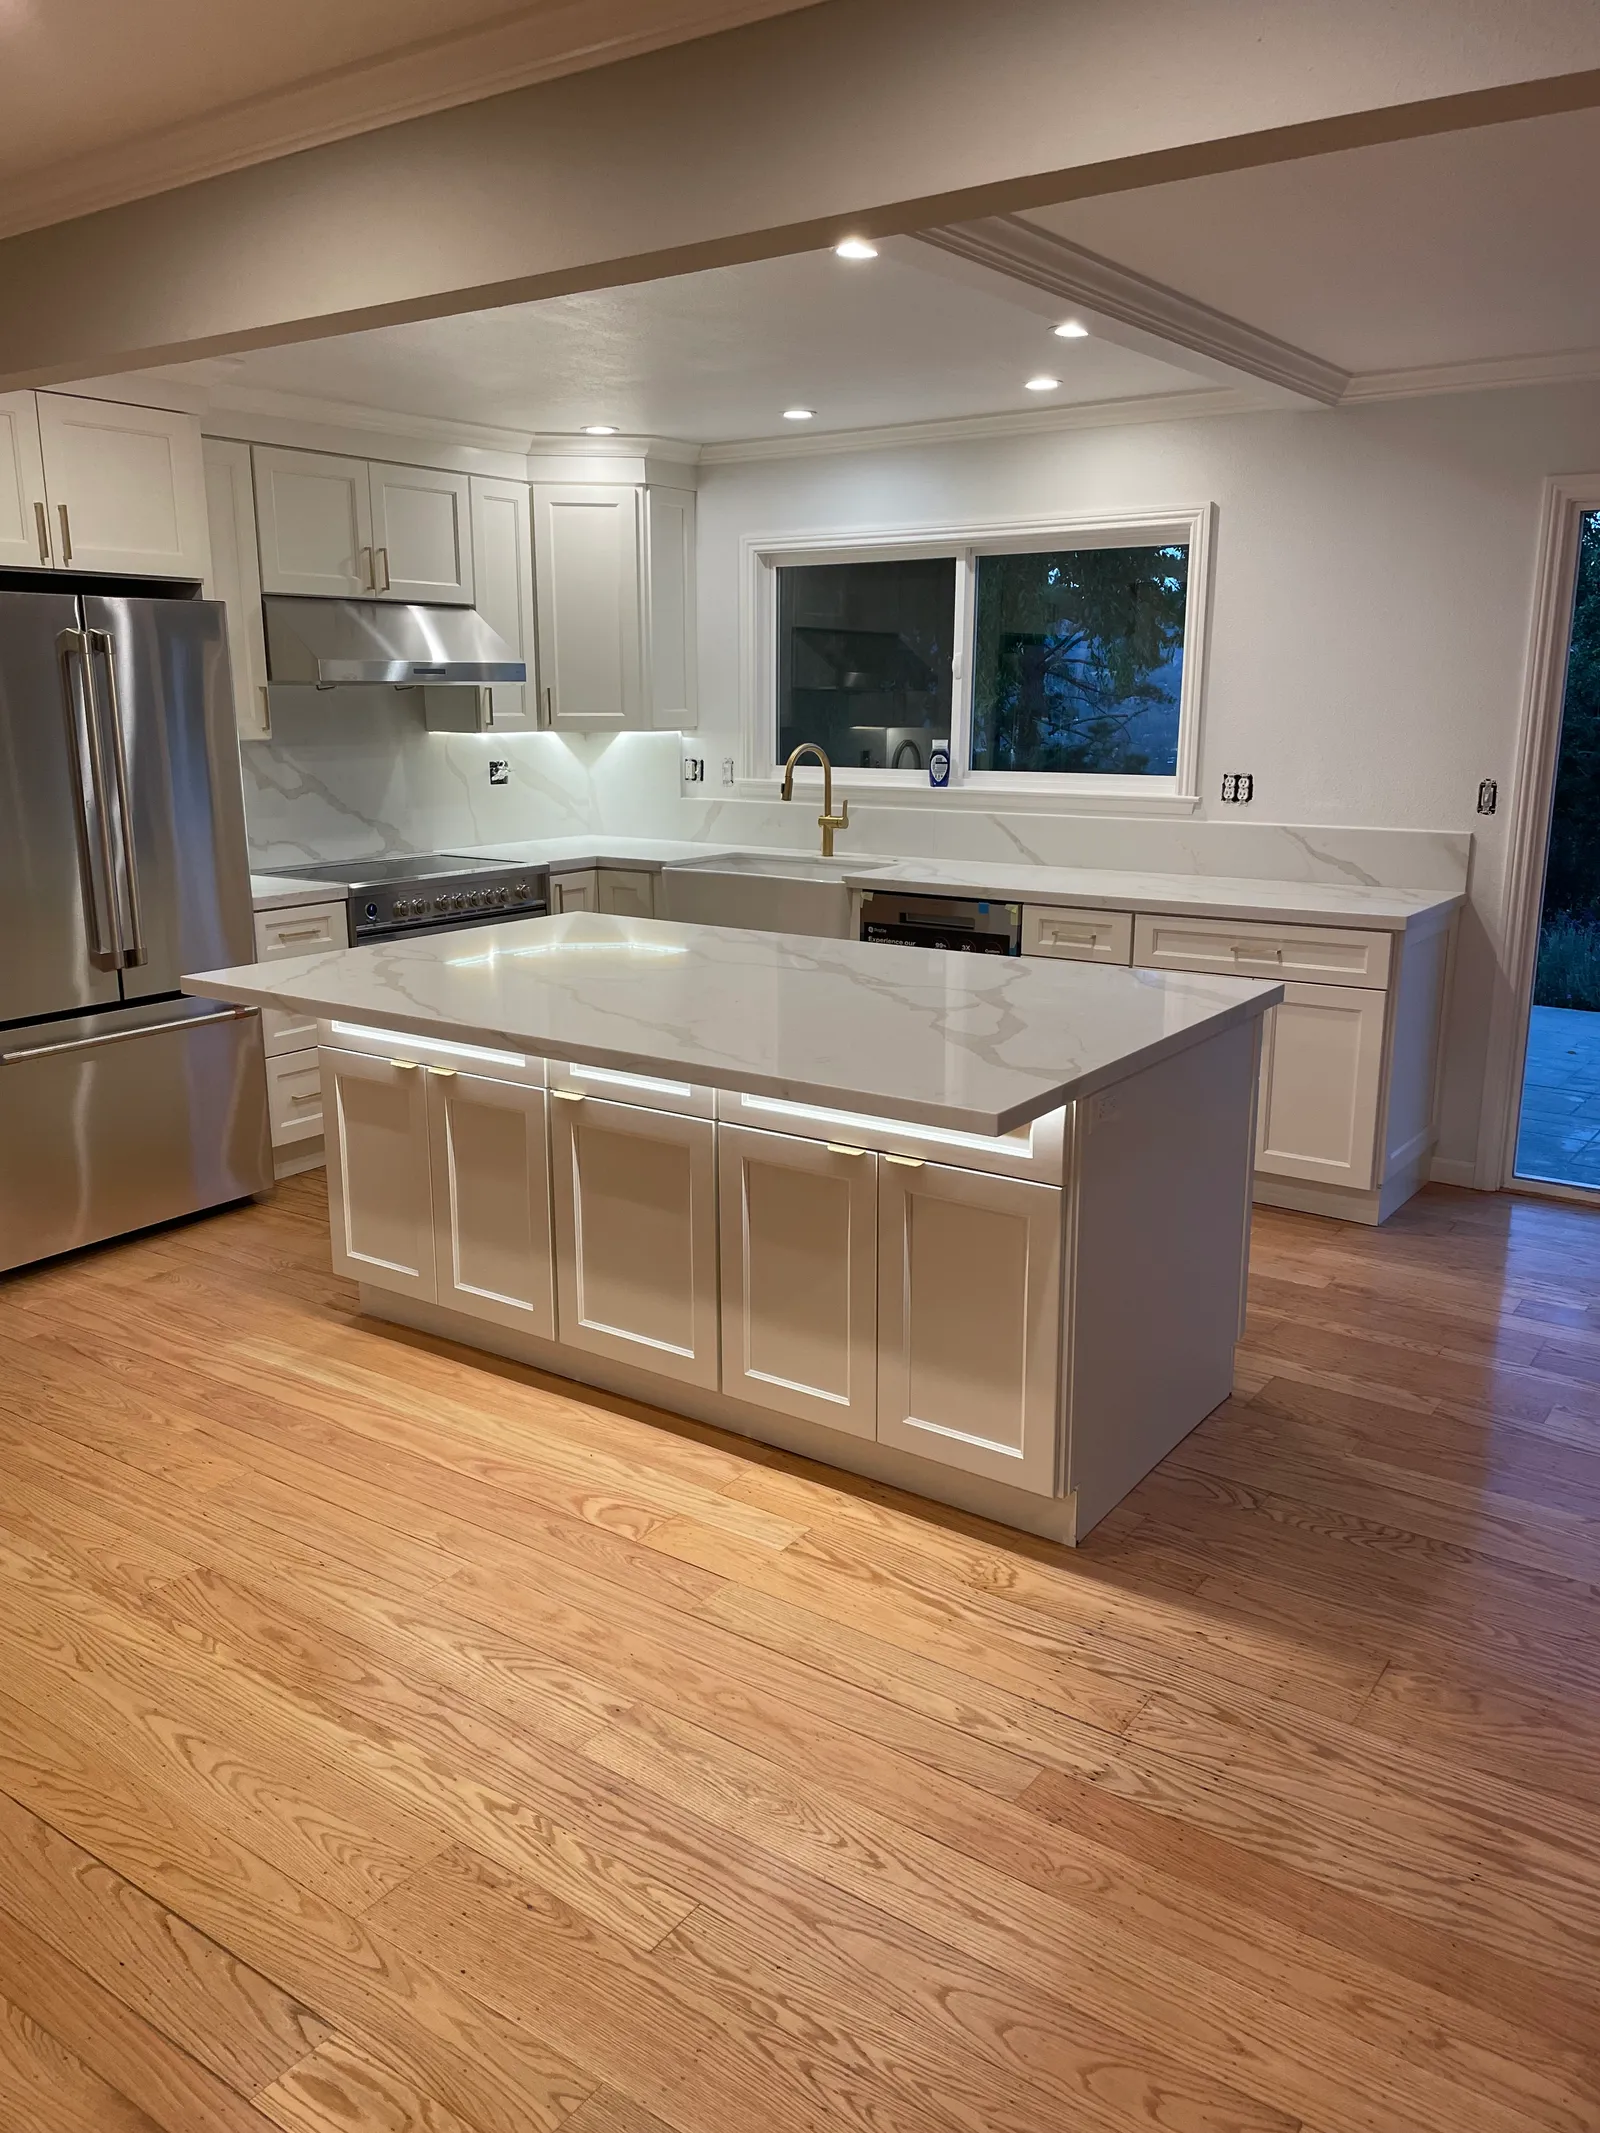
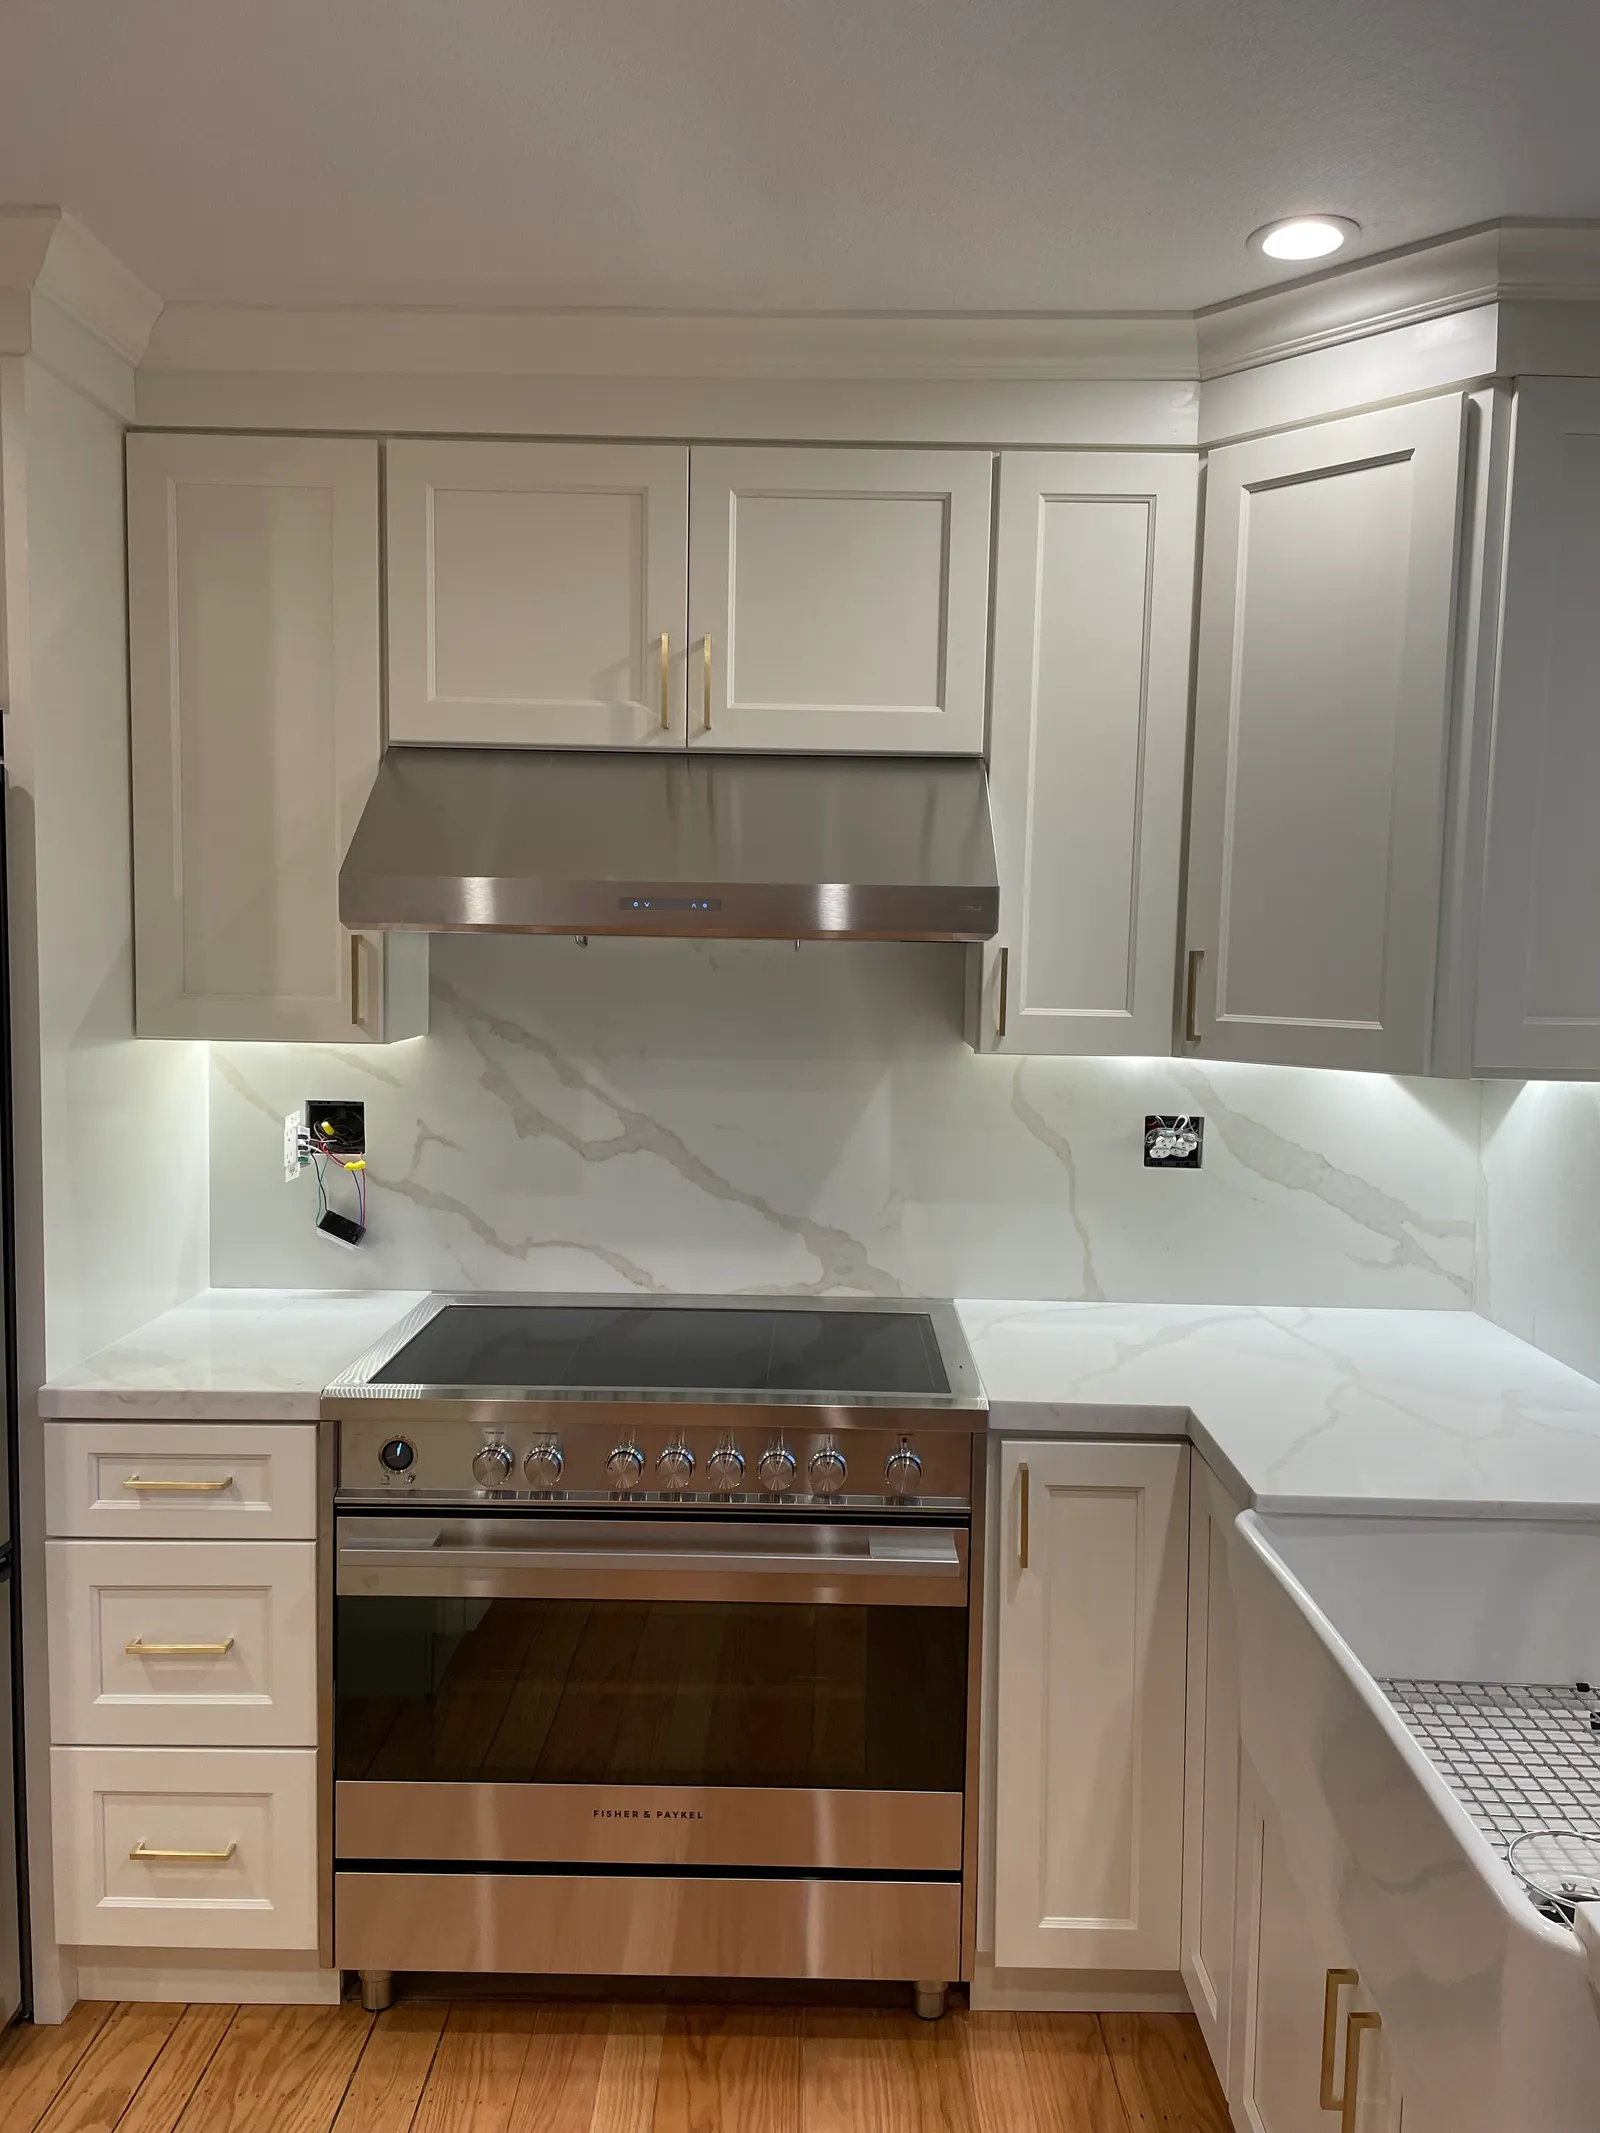
Photos from real East Bay installs
Every photo below is a Soto Bay project — Oakland, Berkeley, Alameda, Montclair. Ultra white and close-cousin marble-look quartz both paired with the cabinet styles we see most.

Walk your kitchen with us
Ultra white quartz is the most-requested kitchen counter in Oakland for a reason — and the install details separate a kitchen that looks great on Day 1 from a kitchen that still looks great in year ten. If you're considering it, the fastest way to a real number is a free walkthrough. We'll measure, review slab options at our Granite Expo account, walk through seam placement in your specific layout, and price the job honestly after seeing the kitchen.
Free East Bay walkthrough
Licensed CSLB contractor (#1054501, active since 2013). 15-minute walkthrough covers your layout, slab selection, square-edge preference, 5/8" subtop confirmation, seam placement, plumbing reconnect, and an honest price range — never off a price list.
Schedule a walkthrough →